
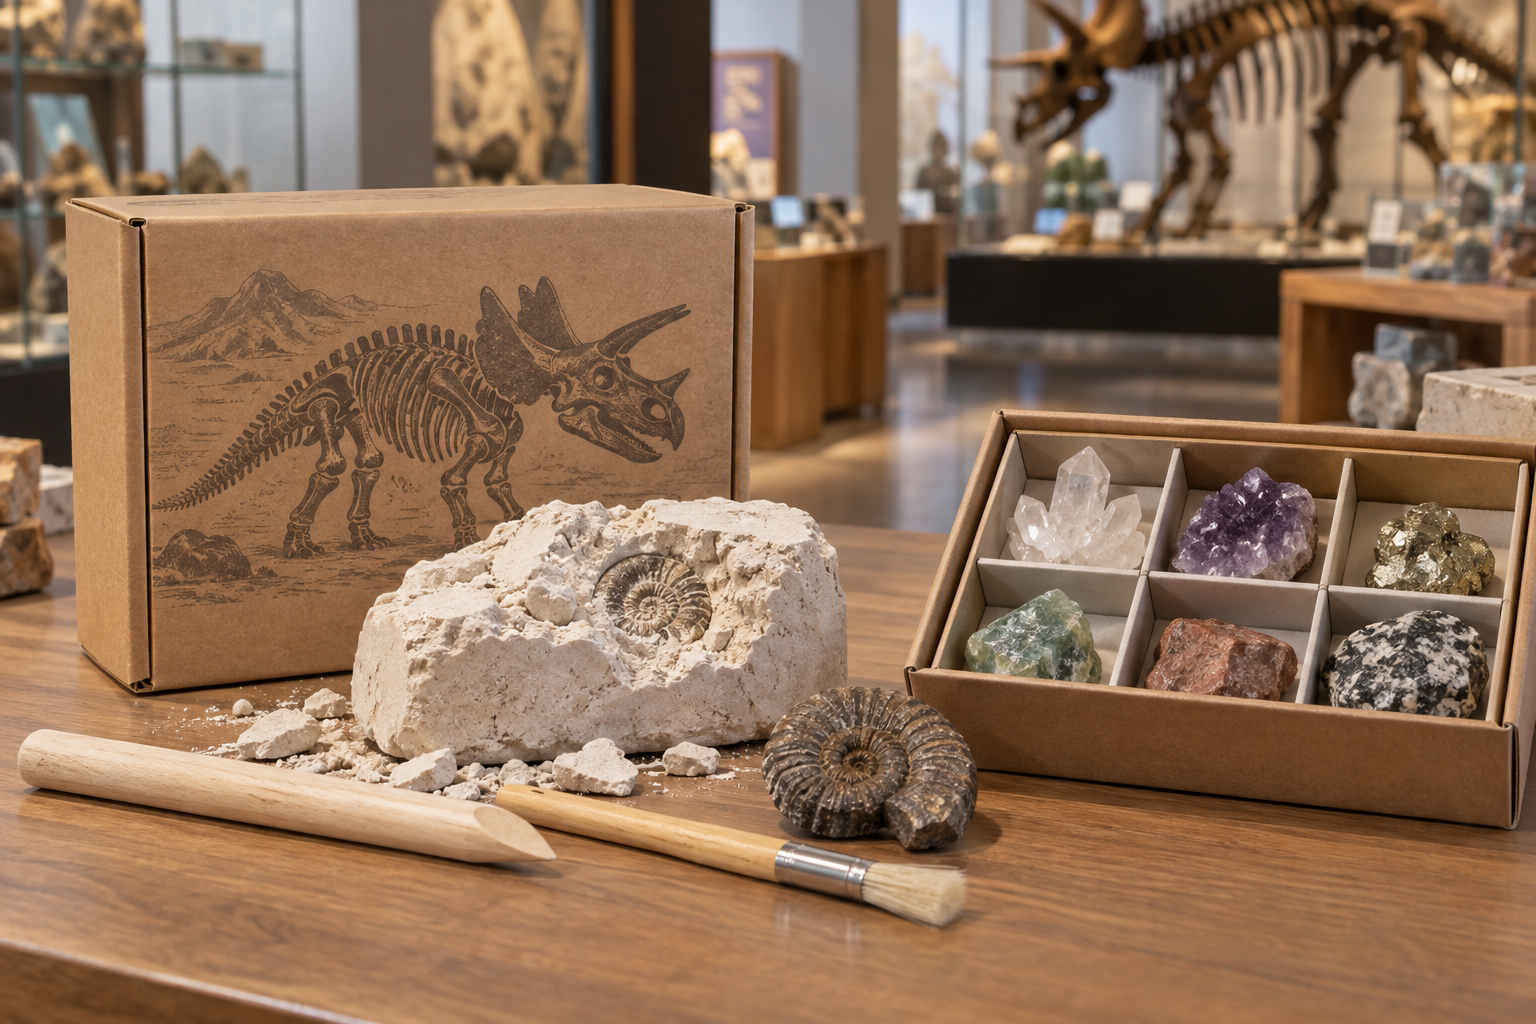
Pick one exhibit and build the kit around something visitors can actually do. They might dig up a fossil replica or sort a handful of rocks. Start there. Then settle the age group, kit contents, retail price, and order size. Before you approve bulk production, check a finished sample, the science on every label, the packaging, and the required safety documents.
Pick a Kit That Fits the Exhibit
| Kit type | What visitors do | Best fit |
|---|---|---|
| Dig kit | Break into a block and uncover hidden objects | Dinosaurs, fossils |
| Geology kit | Sort, examine, and compare labeled rocks or minerals | Rocks, minerals, volcanoes |
| Hybrid kit | Excavate something, then identify or assemble it | Discovery, geological time |
A dig block is usually a one-time activity. A rock collection can come off the shelf again and again. For a hybrid, let the object visitors uncover become part of the next task. You don’t have to fill the box with extra pieces to make it interesting. K&M’s geology kit formats include mineral collections and excavation sets.
Make the Exhibit Part of the Activity
Give the supplier a short brief: exhibit theme, intended age, activity, country of sale, target retail price, and order quantity. Then choose materials that belong with that story.
- Volcanoes: Put a rock with visible holes next to a denser volcanic rock. Let visitors compare their textures, with both samples labeled correctly.
- Ancient seas: Hide a marine-fossil replica in the block. Add a card showing how it connects to the exhibit.
- Minerals: Ask visitors to compare how samples shine. If you want a streak test, put a suitable streak plate in the box.
- Local geology: Use a regional map and clearly labeled rocks. Only say a sample comes from a particular place when you have records to back that up.
Have the museum educator check names, dates, maps, and pictures before anything goes to print. For a dinosaur exhibition, dig-and-assemble kits let children uncover model bones or parts and put them together afterward.
Work Out the Dig Block Size and Digging Time
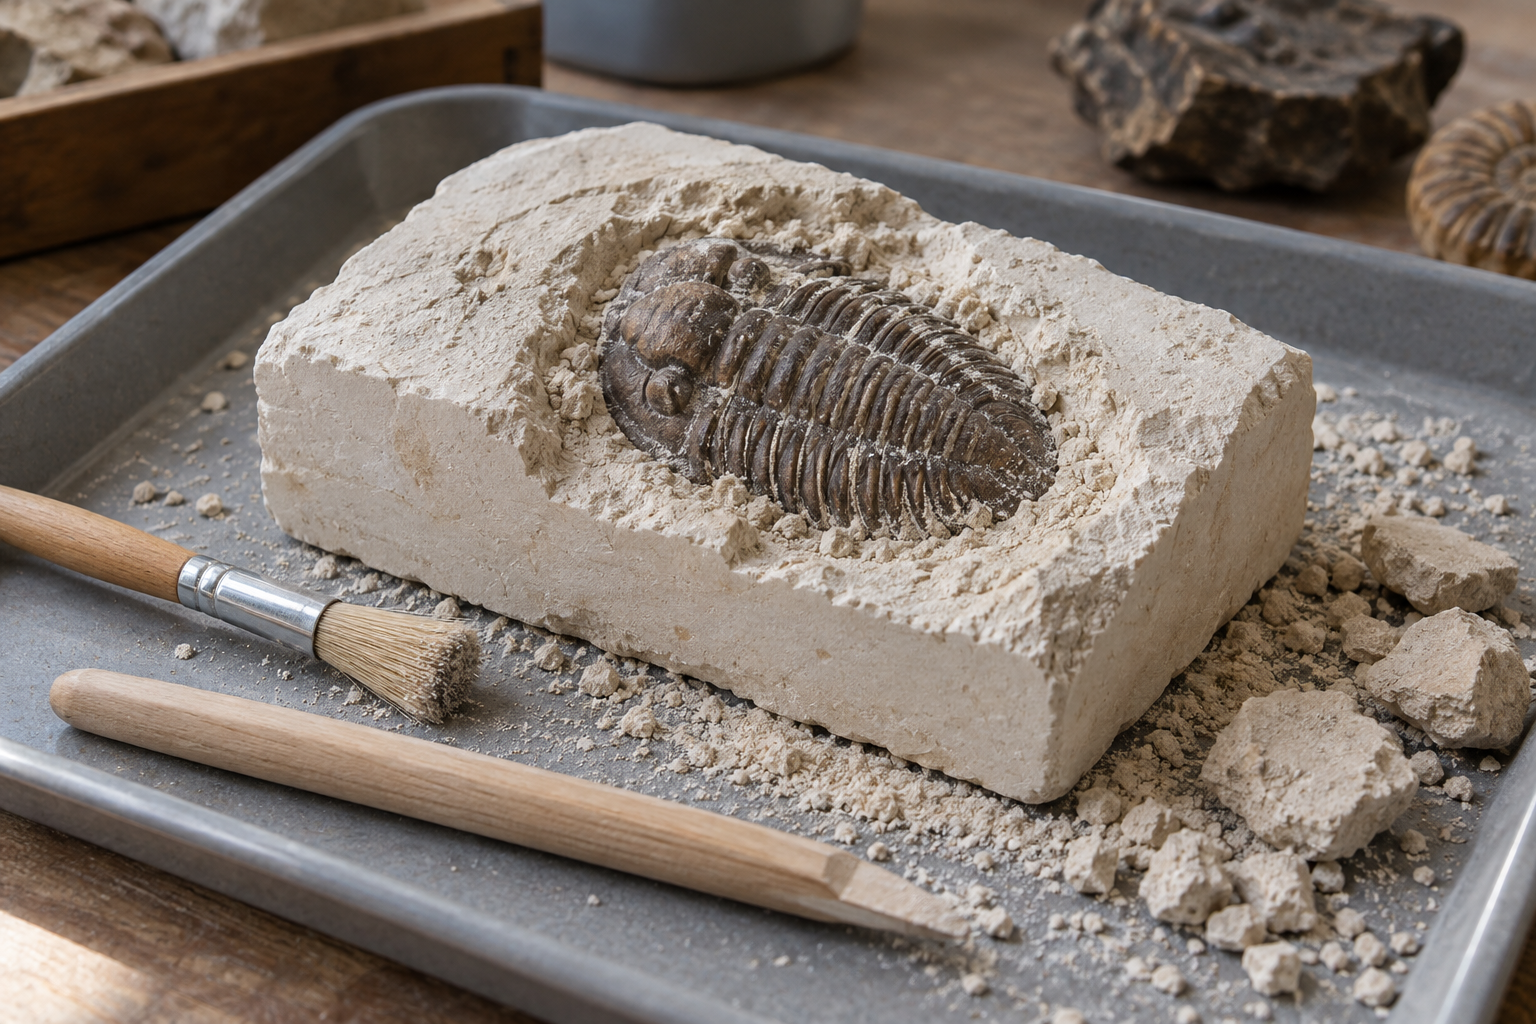
A simple dig kit needs a block, something hidden inside, a brush, a scraper, a mat, and instructions. Tell the factory exactly what each part should be. The bill of materials (BOM) should list the block’s finished weight and dimensions, its material, the replicas inside, and the tools supplied.
K&M’s custom dig-kit guide gives these starting points. The times are targets to test, not promises for every child.
| Size | Block weight | Digging-time target |
|---|---|---|
| Mini | 60–120 g | 8–15 minutes |
| Standard | 200–450 g | 20–45 minutes |
| Large | 600–1,200 g | 45–90 minutes |
Try several blocks using only the tools in the box. Time each dig. Look for clouds of dust, snapped tools, damaged replicas, and blocks that fall apart too early. Note when an adult has to step in. Then try blocks from another sample batch.
A thick block may take longer than a thin one, even at the same weight. Moisture, the block mix, and where the object sits also change the experience. Check scraper edges for sharp spots or splinters. If the instructions tell families to add water, test that exact amount. Too much can leave a muddy paste instead of a digging activity.
Have a dig-kit idea? Send the exhibit theme, age range, replica size, block weight, and target digging time for a sample quote.
Choose Rocks Children Can Identify
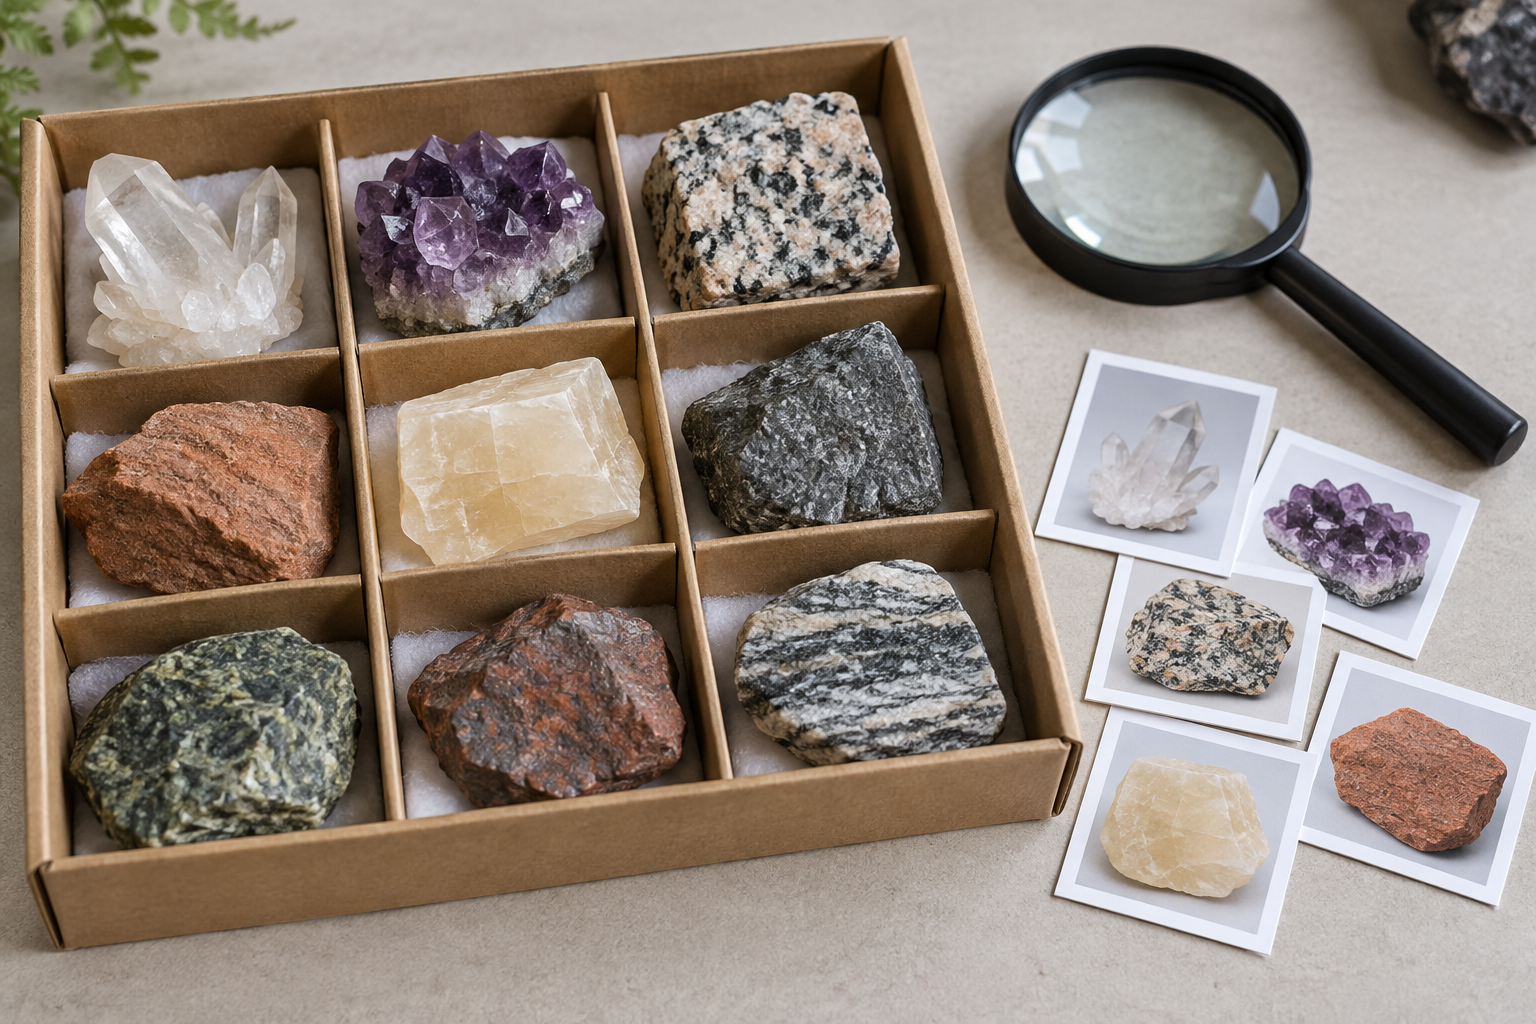
Six to ten labeled specimens can work for a compact kit. That’s a design choice, not a required number. A nine-piece set, for example, could have three igneous, three sedimentary, and three metamorphic rocks.
Approve a real sample of every rock or mineral before production. Check its name, size, finish, condition, and tray position. Agree on possible substitutes in advance. A supplier shouldn’t swap a rock just because another one looks close enough. Match the numbers on the tray to the ID cards. If the activity calls for a magnifier, include one.
The USGS uses properties such as luster, streak, hardness, and magnetism to identify minerals. Color alone can be misleading. [1] Even a clear photograph may not be enough to identify a specimen. [2]
Tell visitors when a sample is dyed, heat-treated, synthetic, or an imitation. Also check whether the chosen minerals are suitable for children to handle. Some minerals raise dust or contact concerns; Smithsonian’s collections guidance describes hazards linked to certain specimens. [3]
Keep the Instructions Simple and Accurate
Show visitors how to dig or sort, how to clean up, and what to look for. One good question is better than a page of facts that never connects to the activity.
With a three-rock-type set, ask children to sort their samples into igneous, sedimentary, and metamorphic groups. That fits the sort of classroom activity used in the Smithsonian’s rocks and minerals materials. [4]
If the object inside the block was manufactured, call it a fossil replica, not a real fossil. And don’t print exhibit photos or collection artwork until you have permission to use them.
Be Clear About Where Real Fossils Come From
Real fossils need more paperwork than replicas. Ask the seller what the fossil is, where it came from when that can be documented, and what records show it was collected and traded legally. Check whether export or import papers are required. If nobody can explain its source, choose a replica instead.
The U.S. National Park Service tells visitors to leave fossils where they find them. [5] Removing fossils from NPS land generally requires authorization, and concessioners at NPS sites cannot sell original paleontological specimens. Properly identified replicas may be allowed under park policies. Those park rules don’t mean every privately sourced fossil sale in the United States is illegal. A supplier invoice, by itself, doesn’t prove lawful origin. [6]
Check Toy Safety for the Country of Sale
A kit doesn’t avoid toy rules just because the package says “educational.” Its age grade needs to fit the actual pieces and the way children are expected to use them.
- United States: ASTM F963-23 is incorporated into 16 CFR Part 1250 for toys made on or after April 20, 2024. Check which requirements apply to the finished kit. [7]
- Testing and CPC: Children’s products primarily intended for ages 12 and under generally need applicable third-party testing and a Children’s Product Certificate issued by the U.S. manufacturer or importer. [8]
- Small parts: Toys for children under three must not contain or release prohibited small parts. Other age groups may need choking warnings. Look closely at loose stones, tools, and detachable pieces. [9]
- U.S. imports: CPSC certificate eFiling applies to covered imported products from July 8, 2026. Covered products entered from a U.S. foreign trade zone have a January 8, 2027 effective date. [10]
- European Union: Follow the toy-safety rules that currently apply under Directive 2009/48/EC, including relevant assessments, chemical requirements, documents, labels, and CE marking. Regulation (EU) 2025/2509 entered into force on January 1, 2026, with its main requirements applying from August 1, 2030. [11]
Give the test lab the finished kit, BOM, age-grade reasoning, instructions, packaging, and list of sales countries. If the factory changes a material, pigment, tool, or supplier later, check whether the product needs another safety assessment.
Make the Packaging Match What’s Inside
Show the real contents on the box. If there’s one replica inside, don’t put three on the front and make the kit look bigger than it is. Print the age grade and required warnings where buyers can find them.
Seal dig blocks so dust stays inside until the pack is opened. Keep rocks apart so they don’t chip against each other. Before sign-off, check barcodes, batch details, manufacturer or importer information, and the languages needed for each market.
If the museum sells the kit online as well as in-store, test the parcel packaging too. A box that looks fine on a gift-shop shelf may not survive shipping.
Ask for MOQ, Lead Time, and the Full Cost
Get prices at two order quantities. Ask the factory to separate unit cost, samples, artwork, molds, testing, and freight. Sometimes the MOQ comes from a printed box or custom tray, not the kit itself. K&M covers those details in its private-label MOQ guide.
These are K&M’s published planning ranges, not industry-wide averages.
| Customization | MOQ per SKU | Sample lead time | Production after approval |
|---|---|---|---|
| Stock kit with custom label | 200–500 | About 7 days | 20–25 days |
| Custom printed box | 500–1,000 | 10–14 days | 25–35 days |
| New mold or full ODM | 1,000–5,000 | 14–21 days | 30–45 days |
Confirm whether each artwork version or language counts as its own SKU. Leave time for sample changes, laboratory work, and delivery. A 30-day production estimate doesn’t mean the kits reach the museum in 30 days.
Here’s a simple hypothetical direct-retail example. The kit costs $5.50 at the factory. Freight, duties, and handling add $2.50, bringing landed cost to $8. If the museum sells it for $20 before sales tax, its unit gross margin is ($20 − $8) ÷ $20 = 60%. Payment fees, returns, store expenses, and development costs still have to come out of that. For wholesale or consignment, use the amount the museum actually receives instead of the shelf price.
If you’re paying for a new mold, put ownership, storage, maintenance, and exclusive-use terms in the agreement. A museum logo on an existing kit doesn’t make the tooling exclusive.
Check Real Production Kits, Not Just Samples
Keep one approved, fully packed kit and a dated BOM. Use them to check production units before shipment.
- Dig block: Check weight, size, cracks, loose dust, hardness during digging, and the number of hidden objects.
- Rocks and minerals: Check names, quantities, finish, and any substitutions.
- Printed pieces: Make sure specimen numbers match the cards. Check science facts, images, and warnings.
- Packing: Count tools and cards. Check seals, inserts, barcodes, and batch codes.
- Reorders: Compare against the approved sample and latest BOM. Get written approval for changes.
Open and excavate some blocks from production. Looking at the sealed box won’t tell you whether the right replica is buried inside. Loose parts should be counted before the pack is closed. K&M’s packing-control guide explains ways to catch missing components.
During the first month on sale, track units sold, damaged packs, returns, and missing-part complaints by SKU. That gives the museum something concrete to use when deciding what to reorder or fix.
What to Send the Manufacturer
For an ancient-seas exhibit, a first brief could read: one 300 g dig block, one labeled marine-fossil replica, a brush, scraper, mat, and ID card. Aim for a 20–45-minute activity, but don’t print that time until testing backs it up. Ask for 500- and 1,000-unit quotes, with samples, tooling, packaging, testing, and delivery shown separately.
Include the intended age group and sales country from the start. Those details affect both the kit design and the safety work.
Send your exhibit theme, target age, kit contents, sales country, and two order quantities. Ask for an itemized quote and a sample plan.