

A useful educational toy QC checklist needs to cover three stages: incoming materials, production, and final inspection. For each important item, the inspector needs a clear check method, a pass limit, a check frequency, and a clear action if something fails. In real toy production, the problems are often quite practical: a knob comes loose, a puzzle piece is too tight, the wrong paint batch reaches the line, an audio file does not match the printed card, or one piece is missing from a set.
All quantities, tolerances, and inspection frequencies used below are working examples. They are not universal toy-industry limits. The actual values should come from the product drawing, buyer specification, safety review, and the inspection plan agreed for that order.
Define the Product Before Writing the Checklist
Start with the latest product files. Do not build the checklist from memory or from an old sample sitting in the factory.
The inspector should have the current:
- product name, SKU, and model;
- intended age;
- destination market;
- bill of materials;
- component drawings;
- approved materials and suppliers;
- important dimensions and tolerances;
- approved colors;
- approved physical sample;
- printing artwork;
- firmware or audio version, if the toy uses software;
- instruction manual;
- packaging specification;
- warnings and labels;
- relevant test reports.
A detailed toy product specification sheet makes this much easier. The buyer, factory, and QC team can all work from the same material codes, dimensions, artwork, and revision numbers.
| Document | Approved Version |
|---|---|
| BOM | Rev. C |
| Housing drawing | Rev. B |
| Alphabet artwork | Rev. D |
| Retail box | Rev. E |
| Instruction manual | Rev. C |
| Approved sample | Sample 2026-08-15 |
If Rev. D is approved and the line is still using Rev. C, hold the batch. It does not matter that the printing looks clean. The artwork version is wrong.
The approved sample is still useful. It shows color, feel, finish, and general assembly. But it cannot tell the inspector the exact plastic grade, chemical makeup, hidden construction, firmware version, or a tight dimensional tolerance. Those details belong in the written specification.
These files should be frozen before mass production. That is one of the key steps in the custom educational toy development process.
Turn Product Risks Into Checkpoints
For each important part or process, write down the actual failure that could happen. Then turn that failure into a check.
Ask:
- What can go wrong?
- Can it hurt the child?
- Can it create a legal or labeling problem?
- Can it stop the toy from working?
- Can it make the learning content wrong?
- Where can the problem be found first?
- How will the inspector check it?
- What counts as a pass?
- How often will it be checked?
- What happens if it fails?
A wooden puzzle knob is a simple example.
| Item | Working Requirement |
|---|---|
| Risk | Knob becomes loose or detached |
| Check stage | Assembly, after curing, and final inspection |
| Method | Check glue process and use the approved pull or retention check |
| Pass rule | Correct glue, full seating, enough cure time, no unacceptable looseness |
| Example frequency | First 5 units after setup, then 3–5 units during each patrol check |
| Failure action | Hold affected production and check the bonding process |
Give High-Risk Items More Control
Safety and function problems need tighter control than small cosmetic marks. For an educational toy, the higher-risk checks often include:
- small-part retention;
- magnet retention;
- sharp edges and points;
- battery compartment construction;
- important screw length or tightening control;
- approved paint, plastic, ink, and adhesive;
- dimensions that affect fit or safety;
- PCB and firmware version;
- correct learning content;
- mandatory warnings.
A buyer can also set an internal rule of zero accepted critical defects in the inspected sample. If one critical safety defect is found, the lot goes on hold for review.
Check the Intended Age
In the United States, toys intended for children under three must not contain prohibited small parts or release prohibited small parts during the required use-and-abuse testing. A small part can be a complete item, a separate component, or a piece that breaks away during testing.[1]
So the factory needs to check two things: whether the toy already contains a small detachable part, and whether poor assembly could create one later. Knobs, wheels, magnets, glued decorations, caps, buttons, and pegs are common places to look.
Small-part review does not end at age three. In the United States, certain toys and games intended for children aged three to under six that contain small parts as received require choking-hazard labeling.[2]
The age on the box must match the real design and intended user. Changing the printed age is not a proper fix for a design problem.
Write the Market on the QC Sheet
Market: United States
Age: 3+
Product: Wooden alphabet puzzle
Model: WA-2604
For applicable U.S. children’s toys, ASTM F963-23 is the version incorporated into the federal toy safety rule for toys manufactured on or after April 20, 2024. Toys designed or intended mainly for children aged 12 or younger that fall under applicable CPSC rules generally require third-party testing by a CPSC-accepted laboratory and certification.[3]
U.S. importers also need to handle certificate filing. From July 8, 2026, importers of consumer products subject to CPSC certification requirements generally must file certificate data electronically for covered imports. Goods entered from a Foreign Trade Zone have a later January 8, 2027 effective date.[4]
For the EU, Regulation (EU) 2025/2509 replaces Directive 2009/48/EC from August 1, 2030. Some parts of the new Regulation apply earlier, and transition rules cover toys placed on the EU market under the Directive before that date.[5]
If the same SKU is sold in both regions, keep separate U.S. and EU requirements in the QC file. This US and EU toy safety compliance guide covers the main differences that need to be reviewed before production starts.
Keep Factory QC and Compliance Testing Separate
| Factory QC Can Check | Formal Compliance Work May Check |
|---|---|
| Dimensions | Applicable chemical limits |
| Workmanship | Required standardized safety tests |
| Missing or loose parts | Applicable material restrictions |
| Function | Formal mechanical or electrical requirements |
| Artwork and packaging | Market-specific legal requirements |
An inspector can see that the wrong paint batch reached the line. The inspector cannot look at red paint and know its chemical composition. An SDS is not a toy-compliance report.
The opposite is also true. A laboratory report does not tell you whether every production carton has the right pieces, barcode, manual, or firmware.
Set Defect Levels Before Inspection
Critical: a safety or legal risk. Examples include a dangerous sharp point, a prohibited small part, an unsafe loose magnet, an exposed conductor, or an unapproved safety-related material.
Major: a problem that affects use, function, durability, or important learning content. Examples include a missing puzzle piece, wrong letter, dead switch, large crack, loose joint, or wrong manual.
Minor: a limited cosmetic issue that does not affect safety or normal use.
For cosmetic defects, give the inspector a real limit. One buyer might write: “One scratch up to 5 mm on the rear surface, not through the coating.” That is much clearer than “small scratch acceptable.”
Set the Sample Size and Check Frequency
Add a sample size or frequency to every check that needs one.
Incoming lots, line patrols, and final lots use different logic. A factory might check 5 screws from a new incoming lot for important dimensions, while a magnet lot may need a larger sample or an extra functional check.
On the line, a working patrol rule might be 3–5 units every hour, plus another check after a material change, tooling adjustment, or long stop.
For final lot inspection, many buyers use an AQL-based sampling plan. ISO published ISO 2859-1:2026 in 2026, replacing the previous edition.[6]
The AQL instruction needs the standard and edition, lot size, inspection level, defect class, agreed AQL, and the sample size with Ac/Re values taken from that standard. Do not copy sample numbers from an old inspection sheet unless you know which standard and edition they came from.
| Check | Example Internal Setting |
|---|---|
| First-piece approval | First 5 finished units |
| Line patrol | 3–5 units per hour |
| Barcode verification | 100% if scanning is built into packing |
| Firmware verification | 100% if the programming station logs the loaded file |
| Alphabet set | 26 unique letters, A–Z |
| Example critical dimension | 30.0 ± 0.2 mm |
| Example critical-defect rule | 0 accepted in the inspected sample |
| Repeated major defect | Review the line after the same defect appears in 3 consecutive patrol checks |
Incoming Materials
For each important incoming material, record the supplier, material code, lot number, quantity, PO, receiving date, and inspection result.
If the approved ABS resin is A-01 and the delivered bag says A-02, hold it. Similar color or appearance is not enough. The buyer or technical team needs to confirm whether A-02 is approved.
Put the approved supplier and material code in the PO before placing the order, especially when sourcing educational toys from China.
Supplier Documents
A Certificate of Analysis may contain results for a specific batch. A Certificate of Conformity may state that the supplied material meets an agreed specification. An SDS mainly covers hazards, handling, and storage.
If the supplier, material recipe, component, or product construction changes, check whether the old test report still applies.
Plastic Parts
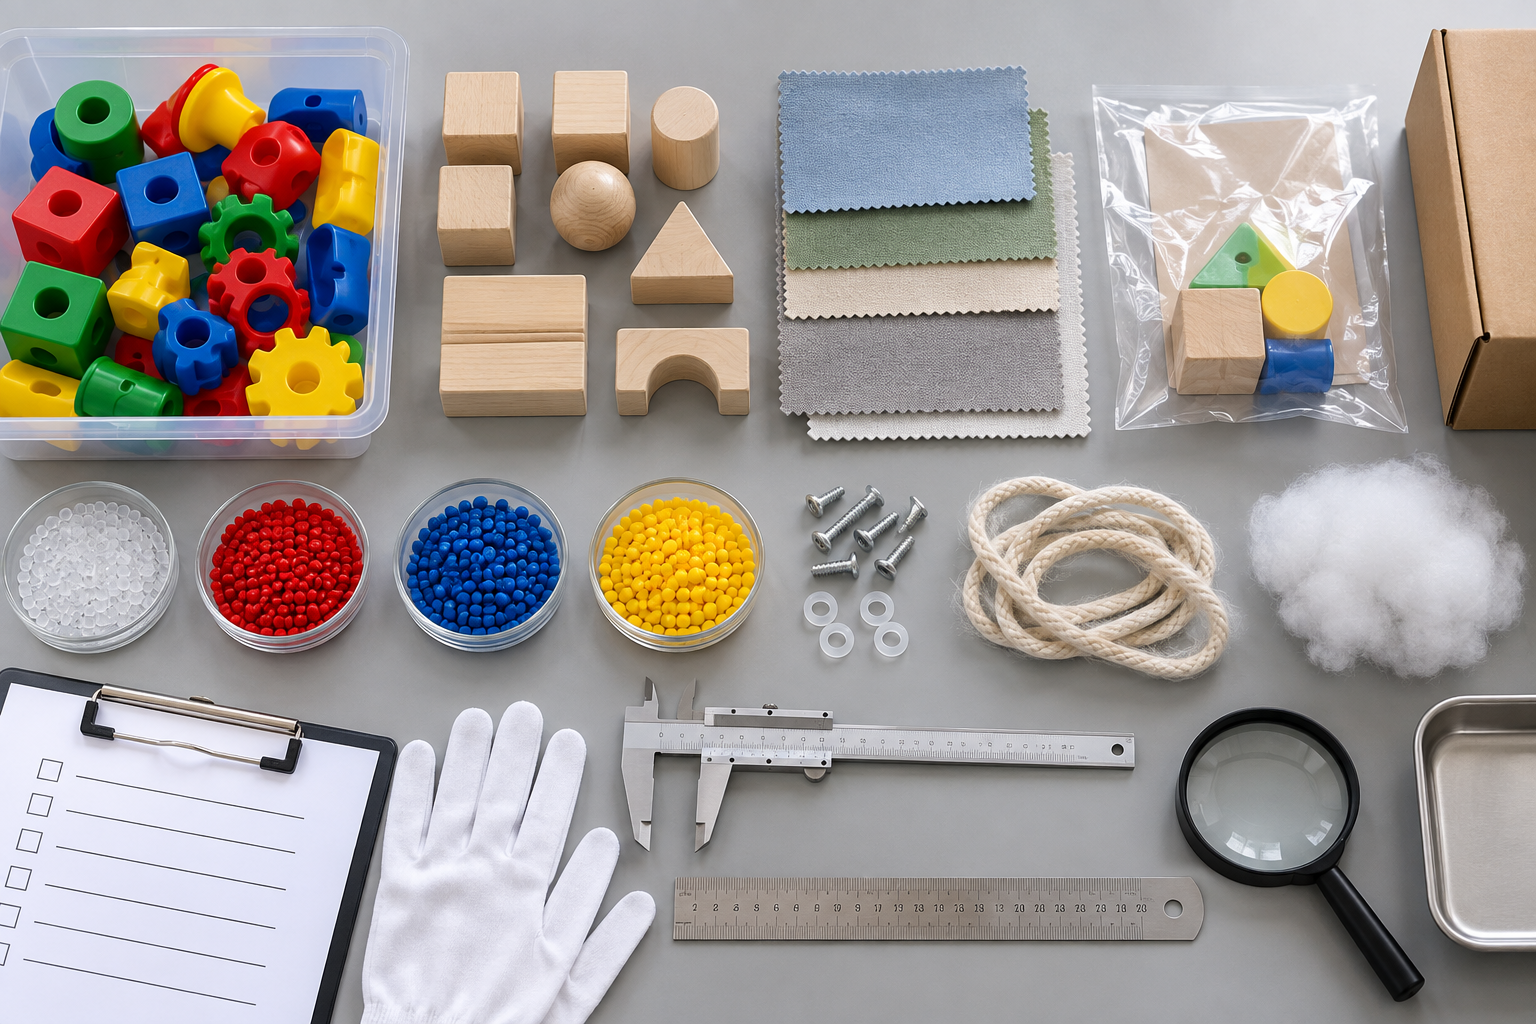
Check the approved material and color, important dimensions, warpage, flash, burrs, short shots, sink marks, cracks, burn marks, contamination, and mating fit.
Thin flash often hides inside finger holes and around button openings. Inspect those areas closely instead of only looking at the front face.
A shape-sorter opening, snap connection, or screw boss may need regular measurement. A decorative curve usually does not need the same attention.
Wood Parts
For wooden toys, check the approved wood or board type, important dimensions, flatness, cracks, split ends, splinters, loose fibers, plywood separation, mold, insect damage, and machining quality.
Run the inspection inside finger holes, puzzle recesses, drilled holes, and routed slots too. These places can stay rough even when the front face feels smooth.
For plywood, look at the cut edge. A lifted layer can get worse after painting, humidity changes, or shipping.
If moisture is controlled, write the allowed range, meter, measuring points, sample quantity, and failure action into the QC sheet.
Paint, Ink, and Glue
Check the approved supplier, product code, batch, color or recipe where needed, shelf life, and storage condition.
Poor results can come from wrong mixing, dirty surfaces, too much or too little glue, short cure time, or the wrong process conditions.
For a glued wooden knob, the work instruction should show where the glue goes, how the part is seated, how long it cures, and when the looseness check is done.
Magnets and Hardware
For magnets, check size, shape, coating, polarity, and approved specification. Keep similar-looking magnet types separate when their grade or strength is different.
For screws and pins, check the important dimensions, threads, burrs, and corrosion where needed.
Screw length is easy to miss. A screw that is only a little too long can break through a thin housing, touch a PCB, or block a moving part.
For repeated size checks, use a go/no-go gauge when it is faster and more consistent than a caliper.
Electronic Parts
Check the PCB revision, speaker or motor model, switches, sensors, display or LED parts, cables, connectors, battery contacts, and programmed version.
A board can fit perfectly inside the housing and still carry the wrong firmware.
In a children’s science kit, the electronics, printed instructions, and loose accessories all need to match the same SKU.
Measuring Tools
For each important dimension, define the measuring tool, its calibration status, the measuring point, and how the part should be held.
Suppose a drawing gives an opening as 30.0 ± 0.2 mm.
| Sample | Measurement |
|---|---|
| 1 | 30.02 mm |
| 2 | 30.05 mm |
| 3 | 30.11 mm |
| 4 | 30.16 mm |
| 5 | 30.18 mm |
All five pass, but the measurements are climbing toward the 30.20 mm upper limit. Check the process now rather than waiting for the first out-of-tolerance part.
If one inspector repeatedly reads 30.05 mm and another gets 30.35 mm on the same reference part, check the tool and measuring method first.
First-Piece Check
Before the line runs at full speed, inspect the first completed units. An internal rule might require the first 5 units to pass before normal production starts.
Run the first-piece check again after:
- a new material lot;
- a tool change;
- a machine adjustment;
- a color change;
- a line change;
- a long production stop.
Compare the first units with the latest drawing, BOM, artwork, approved sample, and function requirements. If an important point fails, fix it before the line keeps running.
Clear the Line Before Changing SKU
Before switching to another model, color, or language version, remove leftover parts from the previous run.
Check for old components, manuals, cards, labels, retail boxes, barcodes, partly assembled units, and old firmware settings.
An English retail box with Spanish audio or a German manual inside the wrong SKU may look fine at a glance, but it is still the wrong product.
Hidden Assembly
Some errors disappear after the housing is closed.
Check internal screws, wire routing, battery contacts, magnet position and polarity, spacers, and glue placement before those areas become hard to see.
For magnetic toys, make sure the approved retention method is present, the magnet pocket is not cracked, and the magnet does not move inside the part.
Process Checks
Record the process settings that can create defects:
- screw torque;
- glue cure time;
- ultrasonic welding settings;
- heat-staking time and temperature;
- coating cure conditions;
- important molding settings;
- firmware programming file.
Example internal rule: check 3–5 units every hour. If the same major defect appears in 3 patrol checks in a row, stop and review the line.
Fit and Movement
Move, connect, and remove the parts several times. A part that works once can still jam or loosen after repeated use.
Check for tight fit, loose fit, jamming, rough movement, loose wheels or gears, parts moving out of position, and fasteners that loosen during use.
Test more than one cavity or connection point. One good fit does not tell you what is happening across the whole part.
Learning Content
Check the learning content against the approved master file.
Verify letters, spelling, numbers, equations, symbols, sequence, diagrams, maps, audio files, language version, and button-to-audio mapping.
A 26-piece alphabet set needs 26 different letters from A to Z. Two C pieces and no D still gives you 26 pieces, but the set is wrong.
For high-volume packing, use a master layout, fixture, scanner, or vision system. Factory QC checks production against the approved master; a language or subject expert checks the master itself before release.
Electronic Functions
A power-on test is not enough.
Use the same test sequence every time:
- power on;
- test the required buttons;
- check lights or display;
- change modes;
- test sensors;
- check volume where provided;
- verify audio and learning content;
- check shutdown;
- restart the product.
If pressing “6” plays “seven,” the toy fails even though the speaker and PCB power on correctly.
If the programming station logs the firmware automatically, verify the version on every unit.
Use 100% Checks for Simple Items
Use 100% checks for fast, repeatable items such as:
- barcode scanning;
- firmware verification;
- automated missing-part checks;
- certain electronic function checks;
- vision checks for missing components.
When barcode scanning is already built into packing, scan every unit.
Final Inspection
Pull final samples from different cartons and pallet positions. Include units from different parts of the packing run when those groups can be identified.
Product Identity
Check the PO, SKU, model, color, market, carton quantity, and carton number.
Then compare the master carton, retail box, and actual toy. A carton and retail box can both say “blue” while the toy inside is green.
Finished Toy
Inspect the complete product for cracks, dents, scratches outside the approved limit, stains, glue marks, paint gaps, paint runs, print damage, deformation, assembly gaps, loose parts, and rough or sharp areas.
For scratches, color variation, and other cosmetic issues, give inspectors a limit sample or a clear size limit.
Use the Toy
For a wooden shape sorter:
- remove every shape;
- check every opening;
- insert every shape;
- remove every shape again;
- check fit;
- check printing;
- confirm the full set.
For a construction set:
- count the required parts;
- build the sample assembly;
- check connection fit;
- follow the instructions;
- take it apart;
- check the pieces for damage.
For an electronic learning toy, run the full function sequence instead of pressing one button and writing “function pass.”
Small Components
Look for loose knobs, caps, wheels, magnets, buttons, screws, and decorative parts. If one of these has started to move or detach, hold the affected units and check the assembly process.
Battery Area
Open and close the battery compartment. Check the closure, approved fastener, screw threads, contacts, polarity marks, wiring, and battery fit.
Everything in the Box
A learning kit might contain:
- 1 activity board;
- 10 number blocks;
- 5 shape pieces;
- 20 cards;
- 1 storage bag;
- 1 manual.
That is 38 packed items.
The total box weight can still look right when the set is wrong. Nineteen cards plus one duplicate accessory may weigh almost the same as the correct set.
Instructions and Warnings
Check the model, language, illustrations, operating steps, assembly steps, warnings, and battery instructions where needed.
Try following the manual. A booklet can have every page and still be wrong if the assembly order does not match the actual toy.
QC checks the approved warning text, language, and label position. The compliance team decides what warning is legally required.
Packaging and Cartons
Open the retail package and check product position, trays, bags, ties, accessories, manuals, inserts, labels, barcode, and box closure.
Also look at what happens during shipping. Painted wooden pieces can rub together. A metal accessory can scratch plastic. Loose parts can knock against the main toy for days inside the carton.
For master cartons, check quantity, carton specification, shipping marks, PO, SKU, destination, carton number, sealing, and visible damage.
Traceability
A finished lot should be traceable back to its production date, line, and important material lots.
Finished Lot → Production Date → Line → Component Lots → Paint/Glue/Magnet Lots → PCB/Firmware → Inspection → Rework → Release
Take a 12,000-unit order made in three lots:
- Lot A: 4,000 units;
- Lot B: 4,000 units;
- Lot C: 4,000 units.
If only Lot B used a paint batch that later becomes suspect, start with those 4,000 units instead of automatically treating all 12,000 units as affected.
Keep the PO, SKU, quantity, production dates, line, important material lots, first-piece results, in-process checks, final inspection, rework records, and shipment approval with the lot.
If one order uses several factories or suppliers, keep the same SKU, BOM, and lot-tracking rules across all of them. That matters when sourcing toys from multiple factories.
What to Do When a Check Fails
| Action | Use It When |
|---|---|
| Hold | Affected material or goods must not be released |
| Stop line | The process is likely to keep making the same defect |
| Sort | Good and failed units can be separated with a clear check |
| Rework | The defect can be repaired safely using a written method |
| Scrap | Safe or reliable repair is not possible |
| Engineering review | The drawing, fit, or tolerance may be causing the problem |
| Compliance review | A material, warning, construction, or other regulated point may be affected |
Stop and review serious issues such as an unapproved material, a safety defect, or wrong firmware. Do not treat them like cosmetic defects.
Rework
Rework can create a new problem while fixing the old one. Removing and reinstalling a screw can damage the thread. Opening an electronic housing can pull a wire loose. Repainting can leave a different shade or poor adhesion.
Write the repair method and the checks that must be repeated after rework.
Repeated Problems
If the same defect keeps coming back, find the cause instead of sorting it forever.
Loose wooden knobs, for example, may come from:
- wrong adhesive;
- too little bonding area;
- hole too large;
- peg too small;
- expired glue;
- short cure time;
- poor surface preparation;
- parts being moved before the glue has cured.
Example follow-up: check the next 3 production lots before closing the issue. If the problem returns, the fix did not work.
Product Changes
A product can change after it has already passed testing.
Common changes include a new plastic resin, new paint supplier, different glue, different magnet, new plywood, alternative electronic part, new PCB, different screw, or new packaging material.
Review every material or component change before use. Check which SKUs are affected, whether safety or function changes, whether old test reports still apply, and which BOMs or drawings need updating.
Practical QC Table
| Stage | Check | Method | Example Frequency | Pass Rule | Failure Action |
|---|---|---|---|---|---|
| Incoming | Plastic material | Supplier and material-code check | Each incoming lot | Approved source and grade | Hold |
| Incoming | Wood surface | Surface inspection | Buyer-defined sample | No unacceptable splinter or crack | Sort / hold |
| Incoming | Paint / glue | Batch and code check | Each incoming lot | Approved material | Quarantine |
| Incoming | Magnet | Specification check | Each lot | Approved size and type | Hold |
| In-process | First piece | Compare with approved files and sample | Example: first 5 units | Matches approved product | Stop setup |
| In-process | Glue joint | Process and looseness check | Example: 3–5 units/hour | Correct glue, seating, and cure | Stop / rework |
| In-process | Fit | Functional check | Defined patrol frequency | Within approved fit limit | Adjust process |
| In-process | Learning content | Master-file comparison | Per packing plan | Correct content | Hold |
| In-process | Firmware | Programming check | 100% if automated | Approved version | Hold |
| Final | Workmanship | Visual check | Approved final sample | Within approved limits | Classify defect |
| Final | Set contents | Count and identify | Approved sample | Complete and correct | Hold / repack |
| Final | Barcode | Scan | 100% if built into packing | Correct SKU | Hold |
| Final | Carton | Count and visual check | Approved sample | Correct quantity and marks | Repack |
Wooden Puzzle Example
| Risk | Stage | Check | Example Data |
|---|---|---|---|
| Wrong wood or board | Incoming | Confirm supplier and material | Each incoming lot |
| Warped board | Incoming / final | Use approved flatness check | Record actual result |
| Splinter inside finger hole | Incoming / in-process | Inspect internal cut surfaces | 0 unacceptable splinters in checked units |
| Loose knob | In-process / final | Control glue and check looseness | Example patrol: 3–5 units/hour |
| Wrong letter | Printing / packing | Compare with A–Z master | 26 unique letters |
| Duplicate piece | Packing / final | Check full A–Z layout | 26 positions, no duplicate |
| Piece too tight or loose | In-process / final | Test several openings | Buyer-defined fit limit |
| Wrong box or language | Packing / final | Check SKU and artwork version | 100% barcode scan if used |
Release the Lot
Before shipment, check that the required inspection passed, serious defects are closed, reworked goods were checked again, approved materials were used, required compliance documents are ready, the correct language and artwork are packed, and lot records are complete.
Do not release a lot with an open safety or compliance hold just to meet the ship date.
Conclusion
A useful toy QC checklist is specific enough that an inspector knows exactly what to do on the factory floor. Five first-piece units, 3–5 patrol units per hour, 100% barcode or firmware checks where the process allows it, and actual dimension records such as 30.02, 30.05, and 30.18 mm give the team something real to judge. Keep those results with the material lots, production date, rework record, and shipment approval. If a problem appears later, the factory can trace the affected batch instead of treating the whole order as suspect.