
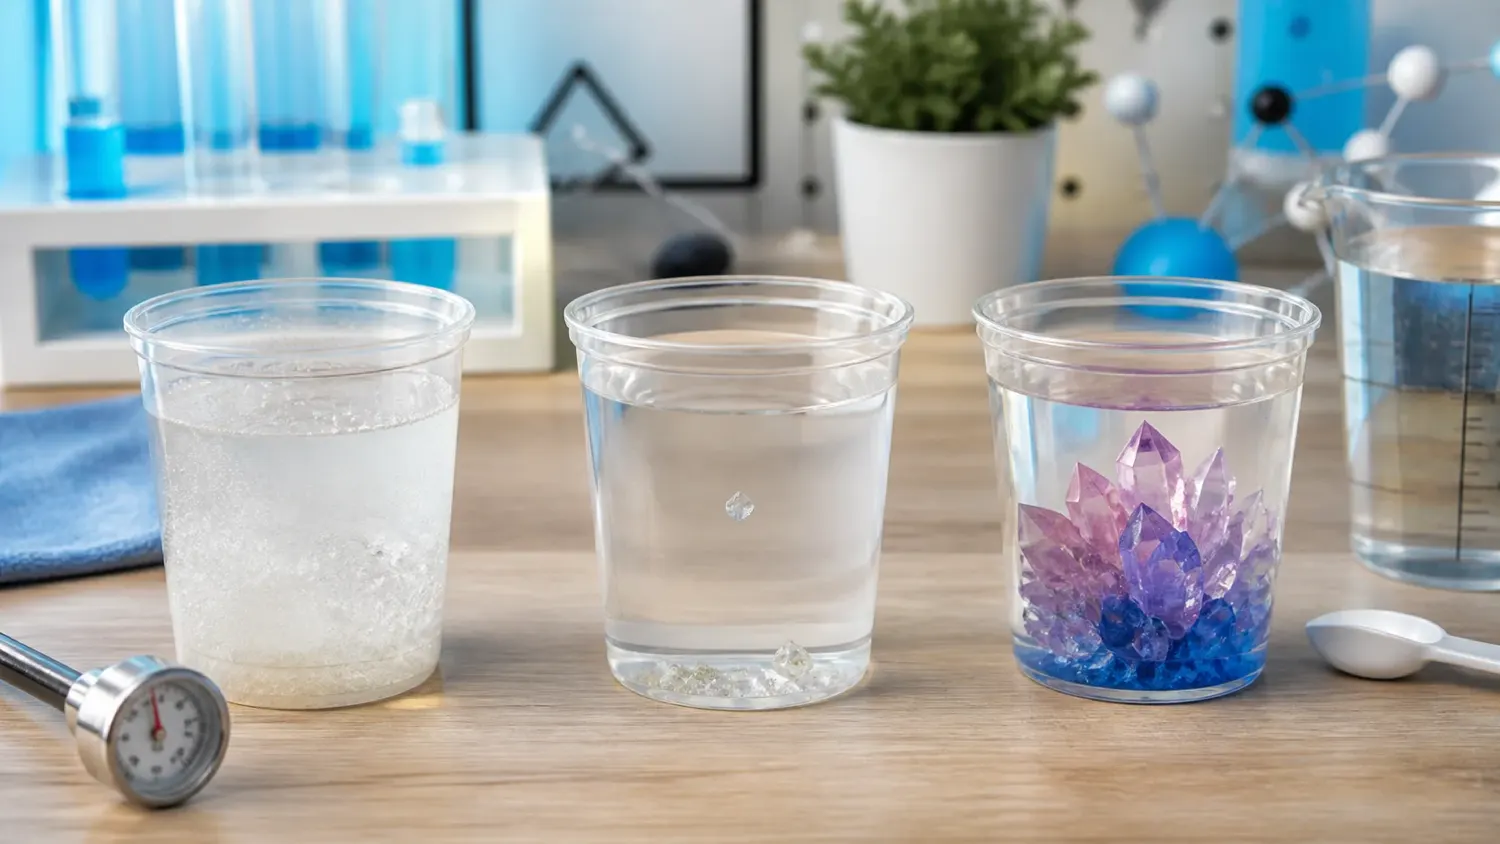
Most crystal growing kits fail for fairly ordinary reasons: the water amount is off, the temperature is wrong for the chemical, the seed goes in at the wrong time, or the solution starts growing crystals everywhere except where you want them. A seed that gets smaller usually means it is dissolving. A container full of tiny crystals means too many growth points formed. A thick ring around the waterline usually points to evaporation.
Before changing anything, look at what actually happened in the container. Adding more powder, topping up the water, or putting the kit in the refrigerator may seem sensible, but any of those can make the next problem worse.
| What You See | What It Usually Means | Check First |
|---|---|---|
| No crystals after the stated growth time | The solution may be too dilute, or crystallization never started | Water amount, powder amount, temperature, time |
| Seed becomes smaller or rounded | The seed is dissolving | Extra water, seed timing, temperature |
| Lots of tiny crystals appear quickly | Too many crystals started at once | Cooling speed, concentration, undissolved grains |
| Crystals grow mostly on the wall | The wall became a competing growth surface | Dried droplets, scratches, dust, waterline deposits |
| Powder remains right after mixing | It may not have dissolved, or some residue may be expected | Instructions, temperature, water amount, stirring |
| Solid appears only after cooling | Dissolved material may already be crystallizing | When the solid first appeared |
| Crystal grows, then stops | There may be little usable material left in the solution | Competing crystals, growth time, remaining liquid |
| Crust forms around the waterline | Evaporation is concentrating the solution near the surface | Heat, airflow, cover, room conditions |
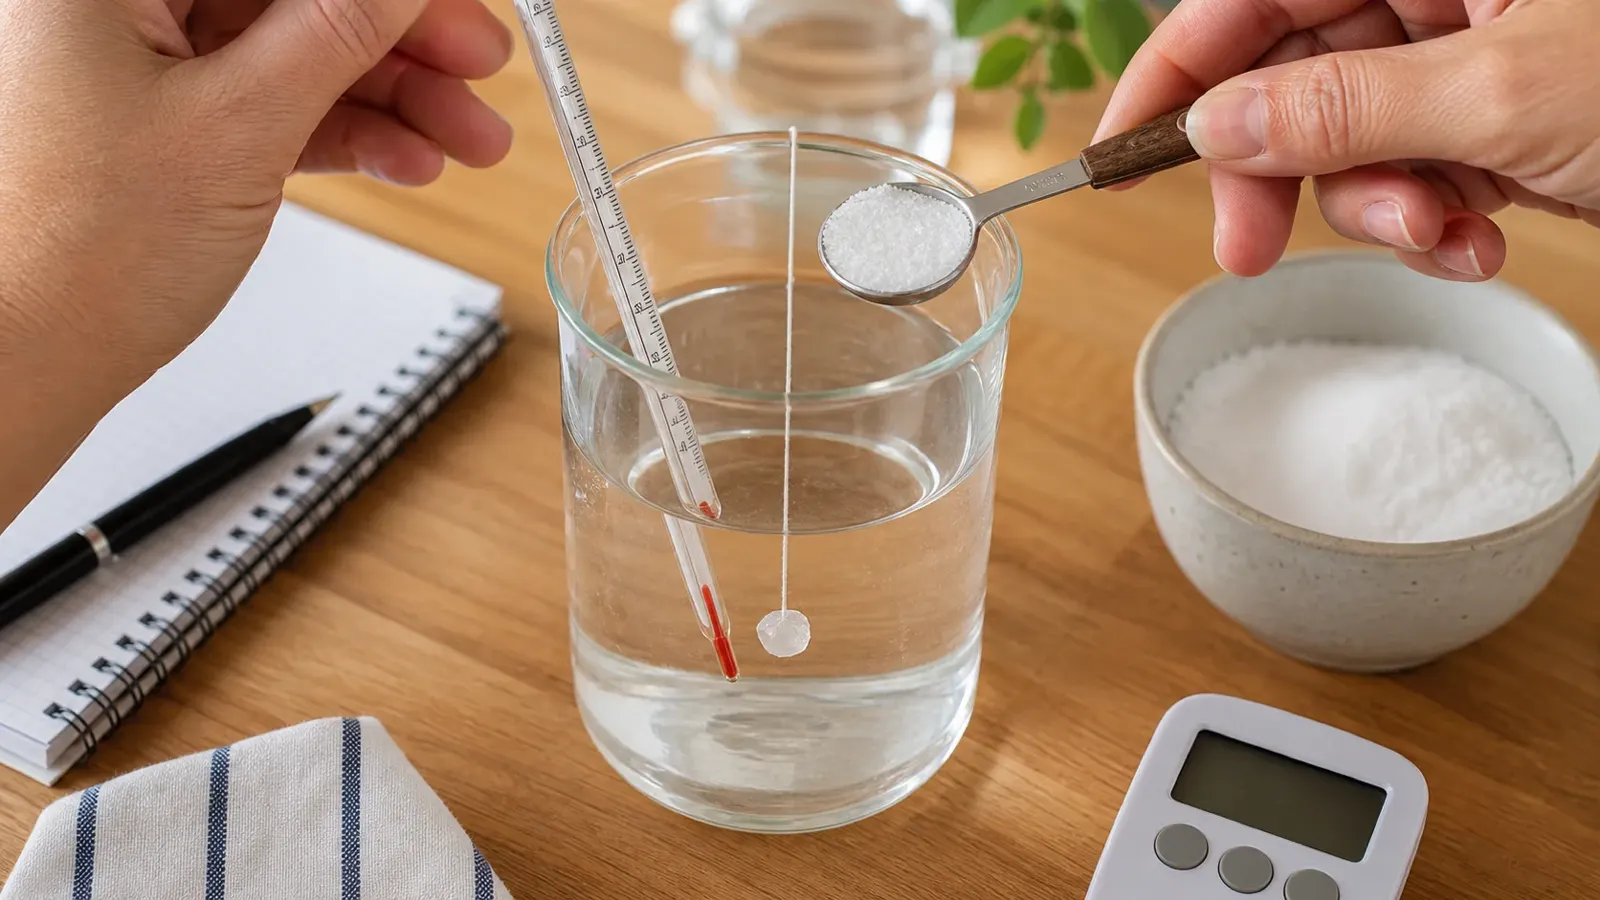
What Is Actually Happening in the Solution?
Most kits work by dissolving a crystal-forming material in water, then changing the conditions so some of that material leaves the liquid again and becomes part of a solid crystal.
An unsaturated solution can still dissolve more material. A saturated solution is holding about as much as it can under the current conditions.[1] A supersaturated solution is holding more dissolved material than is stable at equilibrium.[2]
That supersaturated state is what makes crystal growth possible. The extra dissolved material has somewhere to go, and ideally it joins the seed crystal.
In simple terms:
dissolve → create supersaturation → start crystals → let them grow
Cooling can create supersaturation. Evaporation can too. Some kits rely mostly on one, some use both.
First, Check What Chemical the Kit Uses
“Crystal growing powder” is not one standard chemical. Different kits may use alum, ammonium phosphate compounds, borates, copper salts, or proprietary mixtures. They do not all behave the same way.
Solubility is tied to the particular substance, solvent, temperature, and other conditions.[3] That is why there is no single correct temperature or growth time for every kit.
IUCr educational data show the difference clearly. At 20°C, potassium alum is listed at about 118 g/L in water, while borax is listed at about 27 g/L under the stated conditions.[4] Same general type of experiment, very different behavior.
So before troubleshooting, check the packet or manual for the basics: water volume, required temperature, whether all powder should dissolve, when the seed goes in, whether the container stays open or covered, and how long the kit is supposed to grow.
A crystal growing kit can use different salts, seeds, bases, containers, and growth methods. A trick that works well for one kit may be completely wrong for another.
Water Temperature Matters, but “Hotter” Is Not a Goal
For many common crystal-growing salts, warmer water can dissolve more material than cooler water. That is useful: dissolve more while warm, then let the solution cool and become supersaturated.
But the size of that temperature effect depends heavily on the chemical. Sodium chloride is a good example. IUCr data show its solubility rising only from about 35.9 g per 100 g of water at 20°C to roughly 39.2 g per 100 g at 100°C.[4] That is a fairly small change compared with many other salts, which is why evaporation is often more useful than cooling alone for salt crystals.
If a kit says to use 60°C water, then 40°C and near-boiling water are not interchangeable. At 40°C, less material may dissolve. Near boiling, you may lose extra water to evaporation and accidentally change the concentration before growth even starts.
Water that is too cool often leaves obvious signs: powder sitting on the bottom, clumps that refuse to disappear, or a weaker solution than the kit was designed to make.
Water that is much hotter than required creates a different set of problems. You may evaporate more water than expected, change the water-to-powder ratio, soften an unsuitable plastic container, or add the seed while the solution can still dissolve it.
If the instructions give a number, use a thermometer. “Warm” and “hot” are too subjective for a small experiment where a 10–20°C difference can matter.
Why a Seed Crystal Sometimes Shrinks
This is one of the clearest clues a kit can give you.
If a seed becomes rounded, gets smaller, or disappears, the surrounding liquid is dissolving it faster than material is attaching to it. In other words, the solution is undersaturated relative to that crystal under those conditions.
Temperature can be part of the reason. A solution that was suitable for growth at one temperature may be able to dissolve more material after warming. IUCr crystal-growing guidance notes that temperature changes of only a few degrees can matter for some temperature-sensitive salts.[4]
This is why the temperature used to dissolve the powder is not automatically the right temperature for adding the seed.
If the instructions tell you to let the solution cool first, let it cool.
Water Measurement Can Change More Than You Think
A few extra milliliters do not look like much in a measuring cup, but they can make a noticeable difference in a small kit.
Suppose the recipe calls for 100 mL of water.
| Water Used | Change in Water Volume | Simple Concentration With the Same Solute Amount |
|---|---|---|
| 100 mL | Correct amount | 100% |
| 110 mL | 10% more water | About 90.9% |
| 120 mL | 20% more water | About 83.3% |
So if you use 120 mL instead of 100 mL, the same amount of dissolved material is spread through a larger volume. The simple concentration is about 16.7% lower.
Real crystal solutions are more complicated because material may start crystallizing during the process, but this example shows why “just a little extra water” is not always harmless.
Too much water can delay growth, reduce the final crystal size, or even make a seed start dissolving.
Too little water causes a different problem. If the material still dissolves, concentration rises. Once the solution reaches its solubility limit at that temperature, though, extra powder simply stays solid. The liquid does not keep getting stronger forever.
Why You Get Hundreds of Tiny Crystals
When a kit produces lots of tiny crystals instead of one larger crystal, the chemistry may actually be working very well—just not in the way you wanted.
Too many crystals started.
The American Chemical Society explains that stronger crystallization conditions can increase nucleation, while more controlled conditions can favor the growth of fewer, larger crystals.[5]
Imagine one container develops 50 separate growth points while another has only one or two. Those 50 crystals are all drawing material from the same solution. They will not divide it perfectly evenly, of course, but the main seed now has far more competition.
The timing helps narrow down the cause.
- Tiny crystals appear almost immediately: rapid cooling or strong supersaturation is more likely.
- They grow around grains on the bottom: undissolved material may have acted as extra seeds.
- They appear mostly on the walls: dust, scratches, or dried solution may have provided starting points.
- They appear several days later: evaporation may have gradually pushed the solution into a more concentrated state.
Cooling Too Fast Can Backfire
Fast cooling can push a solution into strong supersaturation very quickly.
For example, cooling from 70°C to a 20°C room means a 50°C temperature drop. Putting that same solution directly into a refrigerator near 4°C creates a 66°C difference.
That does not mean the refrigerator cools it exactly 32% “harder” or faster; heat transfer depends on the container, airflow, solution volume, and other factors. The numbers simply show that the thermal change is much larger.
For some crystal systems, that bigger change can trigger a large burst of nucleation. The result is often many small crystals, dense clusters, cloudy growth, or crystals covering the bottom.
So the refrigerator is not a universal rescue tool. Use it only when the kit actually tells you to.
Where New Crystals Start
Nucleation is simply the beginning of a new crystal. It can happen on the intended seed, but it can also happen on surprisingly ordinary things:
- undissolved grains;
- dust;
- fibers;
- scratches;
- dried droplets;
- container walls;
- broken pieces of an existing crystal.
For a project that is supposed to grow one main crystal, fewer competing seeds are usually better. IUCr teaching material gives the same practical rule: fewer seeds generally produce larger crystals.[6]
This is also why breaking or scraping crystals can make things worse. Small fragments can become new seeds.
Wall Crystals and Waterline Crystals
If crystals are growing on the wall, the solution is capable of crystallizing. It is just using the wrong surface.
Dried splashes, scratches, dust, powder stuck to the side, and evaporation near the liquid surface can all provide good starting points.
A crystal ring around the waterline is especially common in evaporation-based growth. Water leaves the exposed surface while the dissolved material stays behind, making the remaining liquid more concentrated.
Do not automatically scrape wall crystals off during active growth. If they break into small pieces, those pieces may become new crystal seeds.
Seed Placement Is Easy to Overlook
A suspended seed needs space around it.
- Do not let it touch the wall.
- Do not let it rest on the bottom unless the kit is designed that way.
- Keep it at the depth stated in the instructions.
- Make sure the thread or holder cannot easily move it into another surface.
Even a few millimeters of clearance is better than direct contact. That is not a universal minimum distance; it simply keeps more of the crystal surface exposed to the solution.
A face pressed against the cup cannot grow the same way as a face surrounded by liquid.
Not Every Kit Is Supposed to Grow One Crystal
This matters because people sometimes diagnose a perfectly normal kit as a failure.
A suspended seed may be designed to produce one dominant crystal. A plaster geode, stone, paper shape, pipe cleaner, or molded base may be designed to produce dozens or hundreds of smaller crystals.
The growth support and chemical determine what a normal crystal-growing result should look like.
If the box shows a crystal-covered geode, a cluster is probably the goal. If it shows one large suspended crystal, heavy growth on the walls is more likely to be a problem.
What Undissolved Powder Actually Means
Powder at the bottom is easy to misread because it can mean three different things.
It never dissolved. The water may have been too cool, the amount may have been wrong, or stirring may have been incomplete.
A little residue is expected. Some recipes deliberately make a saturated solution with some excess solid left behind.
The liquid was clear when hot, but solid appeared later. That may already be newly formed crystal, not original powder.
So look at when the solid appeared. Do not automatically add more water just because you see material on the bottom.
Stir During Mixing, Then Leave It Alone
Stirring is useful when the instructions tell you to dissolve the powder. Once growth starts, repeatedly moving the kit creates practical problems: the seed can hit the wall, fragile crystals can break, and broken pieces can turn into new seeds.
This does not mean movement magically prevents crystals from forming. Laboratory crystallization often uses controlled mixing. The home-kit rule is simply more practical: once the setup is finished, do not keep disturbing it unless the instructions say otherwise.
Evaporation Can Change Concentration Quickly
Evaporation removes water while leaving the crystal-forming material behind.
A simple calculation shows the effect. If a solution starts at 100 mL and falls to 90 mL while the dissolved amount temporarily stays the same, the concentration per unit volume is about 11.1% higher.
If the volume falls to 80 mL, the simple concentration is about 25% higher.
| Liquid Volume | Simple Concentration Compared With 100 mL |
|---|---|
| 100 mL | 100% |
| 90 mL | About 111.1% |
| 80 mL | About 125% |
In a real experiment, crystals may already be removing material from the liquid, so these are only simple examples. They show why a modest amount of evaporation can still matter.
Too much evaporation often leaves a heavy crust around the rim, lots of tiny crystals near the surface, or a nearly dry container before the main crystal is ready.
Direct sunlight, heaters, radiators, fans, and strong air-conditioning can all speed up water loss.
The opposite can happen too. If a kit depends on evaporation but the container is sealed tightly, concentration may rise too slowly.
Container Size Changes More Than Appearance
A wide bowl and a narrow jar can behave differently even if both hold exactly 100 mL.
A circular liquid surface 6 cm across has an area of about 28.3 cm². A 10 cm surface has an area of about 78.5 cm²—roughly 2.8 times as much exposed area.
| Container Width | Approximate Exposed Area |
|---|---|
| 6 cm | 28.3 cm² |
| 10 cm | 78.5 cm² |
That does not mean evaporation will be exactly 2.8 times faster. Humidity, airflow, temperature, and liquid depth also matter. But it explains why changing the supplied container can noticeably change the result.
Dry air usually speeds evaporation; humid air slows it. These are secondary variables, though. Check measurement and temperature errors before blaming room humidity.
How Long Should Crystal Growth Take?
There is no useful universal answer such as “three days” or “one week.”
Crystal growth has three stages: waiting for the first crystal to start, waiting for visible growth, and waiting for growth to slow toward its final size.
Some crystals appear within hours. Others remain clear much longer. IUCr educational material gives examples where seed crystals appear after about a day, while larger competition crystals may be grown for roughly four to five weeks.[4]
Those are examples, not instructions for every commercial kit.
If your kit says five days, judge it against five days. Do not call it a failure after the first night because another crystal experiment online produced visible crystals in six hours.
Growth also slows naturally. As material leaves the solution and becomes part of the crystal, there is less dissolved material left to keep feeding rapid growth.
Waiting is sensible if the seed is intact, the solution has not dried out, you are still inside the stated growth time, and there is no obvious measurement error.
Waiting is much less useful if the seed is actively shrinking, most of the material is already stuck to the walls, the solution is nearly dry, or the original water amount was badly wrong.
If No Crystals Appear
| What You See | What to Check |
|---|---|
| Seed looks unchanged | Growth may simply be delayed, or supersaturation may be too low |
| Seed is shrinking | The solution is dissolving it |
| Lots of powder never dissolved | Check water temperature, volume, and the instructions |
| Evaporation-based kit loses almost no water | The container may be covered too tightly |
| Most solid is already on the wall or bottom | Crystallization happened, but not on the intended seed |
Cloudy or Odd-Shaped Crystals
A cloudy crystal is not necessarily a failed crystal.
Cloudiness can come from trapped liquid, microscopic inclusions, impurities, very fast growth, or several small crystals merging together. If the cloudiness is inside the crystal, wiping the outside will not fix it.
Shape problems are often physical. A crystal touching the wall may develop one flat side. Two crystals growing into each other can create an irregular cluster. Broken corners and uneven growth can change the shape too.
And not every chemical naturally makes a clear, gem-like crystal. Some are translucent or opaque even when the growth went well.
Why Growth Stops
A crystal that grew normally and then slowed may simply be running out of usable material.
The solution has a limited supply. Whatever ends up in wall crystals, bottom crystals, or other clusters is no longer available to the main crystal.
If 20 separate crystals are growing in one container, all 20 are drawing from the same dissolved supply. Leaving the kit another week cannot create new material once most of that supply has already crystallized.
Do Not Fix a Stalled Kit by Guessing
Two common rescue attempts often cause more trouble: adding dry powder and topping up evaporated water.
Dry powder added to a cool growth solution may not dissolve. It can settle near the seed and become a group of new nucleation sites.
Adding fresh water does the opposite. It dilutes the solution. In a kit that relies on evaporation, a lower water level may be exactly what is supposed to happen.
For example, if a 100 mL mixture drops to about 90 mL through evaporation, the remaining liquid is already more concentrated. Adding 10 mL of fresh water simply because the level looks low moves it back toward its earlier concentration.
If the kit supports a second growth cycle, use the stated recipe rather than trying to rebuild the solution by eye.
Does Tap Water Matter?
Sometimes, but it is usually not the first thing to investigate.
Check the obvious variables first:
- water volume;
- preparation temperature;
- powder amount;
- mixing;
- seed timing and position;
- cooling and evaporation.
If all of those were controlled and the kit allows different water sources, distilled or deionized water can remove one more variable from the next test.
Keep the Container Clean
You do not need laboratory sterility. You do want to avoid unnecessary particles that can become extra growth sites.
Food residue, oil, detergent, dust, fibers, and crystals left from an older experiment can all interfere with where crystallization starts.
Rinse reusable containers well, and avoid wiping the inside with something that leaves lint behind.
Quick Rescue Guide
| Problem | Check | Best Next Step |
|---|---|---|
| Seed is shrinking | Water amount, temperature, seed timing | Use the kit’s restart method if one exists |
| Crystals appear everywhere at once | Cooling speed, concentration, residue | Stop disturbing the container; correct the cause on the next batch if needed |
| Large amount of powder remains | Whether full dissolution was expected | Do not add water or reheat unless allowed |
| Heavy wall growth | Dried solution, scratches, dust, evaporation | Avoid breaking wall crystals into fragments |
| Crystal stops growing | Competing crystals, stated growth time | Do not assume extra powder or extra time will restart it |
| Solution nearly dries out | Heat, airflow, sunlight, cover | Do not refill automatically |
How to Get a Larger Crystal
If the kit is supposed to grow one main crystal, focus on reducing competition rather than making the solution “stronger.”
- Measure the water accurately.
- Use the stated preparation temperature.
- Use the intended amount of powder.
- Add the seed at the correct stage.
- Keep the seed off the wall and bottom.
- Avoid unnecessary rapid cooling.
- Keep dust and broken crystal fragments out.
- Leave the container in a stable place.
- Give it the full stated growth time.
Can You Reuse the Solution?
Sometimes, but the leftover liquid is no longer the same mixture you started with.
Some of the original material is now in the main crystal, some may be on the wall or bottom, and some remains dissolved.
Do not guess how much water or powder would restore the original recipe. Reuse the liquid only if the instructions provide a method for doing it.
Finished Crystal Care
Many crystals grown from water remain water-soluble after you take them out.
Depending on the chemical and room humidity, the finished crystal may slowly lose sharp edges, become cloudy, absorb moisture, or partly dissolve.
Do not automatically rinse it under water, and do not coat it with random household products. Storage depends on the chemical you grew.
Safety
A crystal growing kit is a chemistry activity. The powder, solution, and finished crystal are not food.
- Read the full instructions before starting.
- Keep the original packet and label.
- Use adult help for hot-water steps when required.
- Use eye protection or other protective equipment when specified.
- Do not eat or drink while handling the chemicals.
- Do not taste the powder, solution, or crystal.
- Avoid breathing powder.
- Wash your hands afterward.
- Keep materials away from pets and younger children.
- Follow the disposal instructions for that product.
The American Chemical Society recommends reading activity-specific safety instructions, using suitable protective equipment when required, keeping food and drink away from chemistry activities, and washing hands afterward.[7]
For children’s toys sold in the United States, CPSC states that ASTM F963-23 is the current incorporated toy safety standard for toys manufactured after April 20, 2024.[8] The toy safety compliance guide gives more context on age grading, warnings, ASTM F963, EN 71, and CE requirements for complete educational products.
The exact chemical still matters. PubChem lists copper sulfate as harmful if swallowed and hazardous to aquatic life, with serious eye effects also appearing in hazard classifications depending on the form and source.[9]
If powder or solution is swallowed or gets into the eyes, keep the packaging, follow the product’s first-aid instructions, and use the exact chemical name when seeking medical or poison-information advice.
What to Check on Your Next Attempt
- Water amount: in a 100 mL recipe, an extra 10 mL lowers the simple concentration by about 9.1% if the same solute amount is used.
- Temperature: 60°C, 40°C, and near-boiling water are not equivalent preparation conditions.
- Powder: check whether full dissolution was actually expected.
- Seed timing: add it at the stage stated in the instructions.
- Seed position: keep it away from the wall and bottom when the design calls for a suspended crystal.
- Cooling and evaporation: avoid changing both at once.
- Then test secondary factors: water source, humidity, container changes, and contamination.
Change one variable at a time. That makes the next attempt useful even if it still does not work perfectly. The same habit—measure, observe, change one thing, compare the result—is part of the measurement, observation, fair testing, and troubleshooting skills developed through science kits.
Conclusion
Most crystal growing failures leave a visible clue. A shrinking seed means the liquid is dissolving it; a sudden layer of tiny crystals means too many growth sites formed; wall and waterline crystals show that material is being used away from the intended seed. Small measurement errors matter too: using 120 mL instead of 100 mL lowers the same simple solute concentration by about 16.7%, while evaporation from 100 mL to 90 mL raises it by about 11.1% before crystallization is taken into account. Measure carefully, follow the kit’s temperature and timing, and change one variable at a time.