
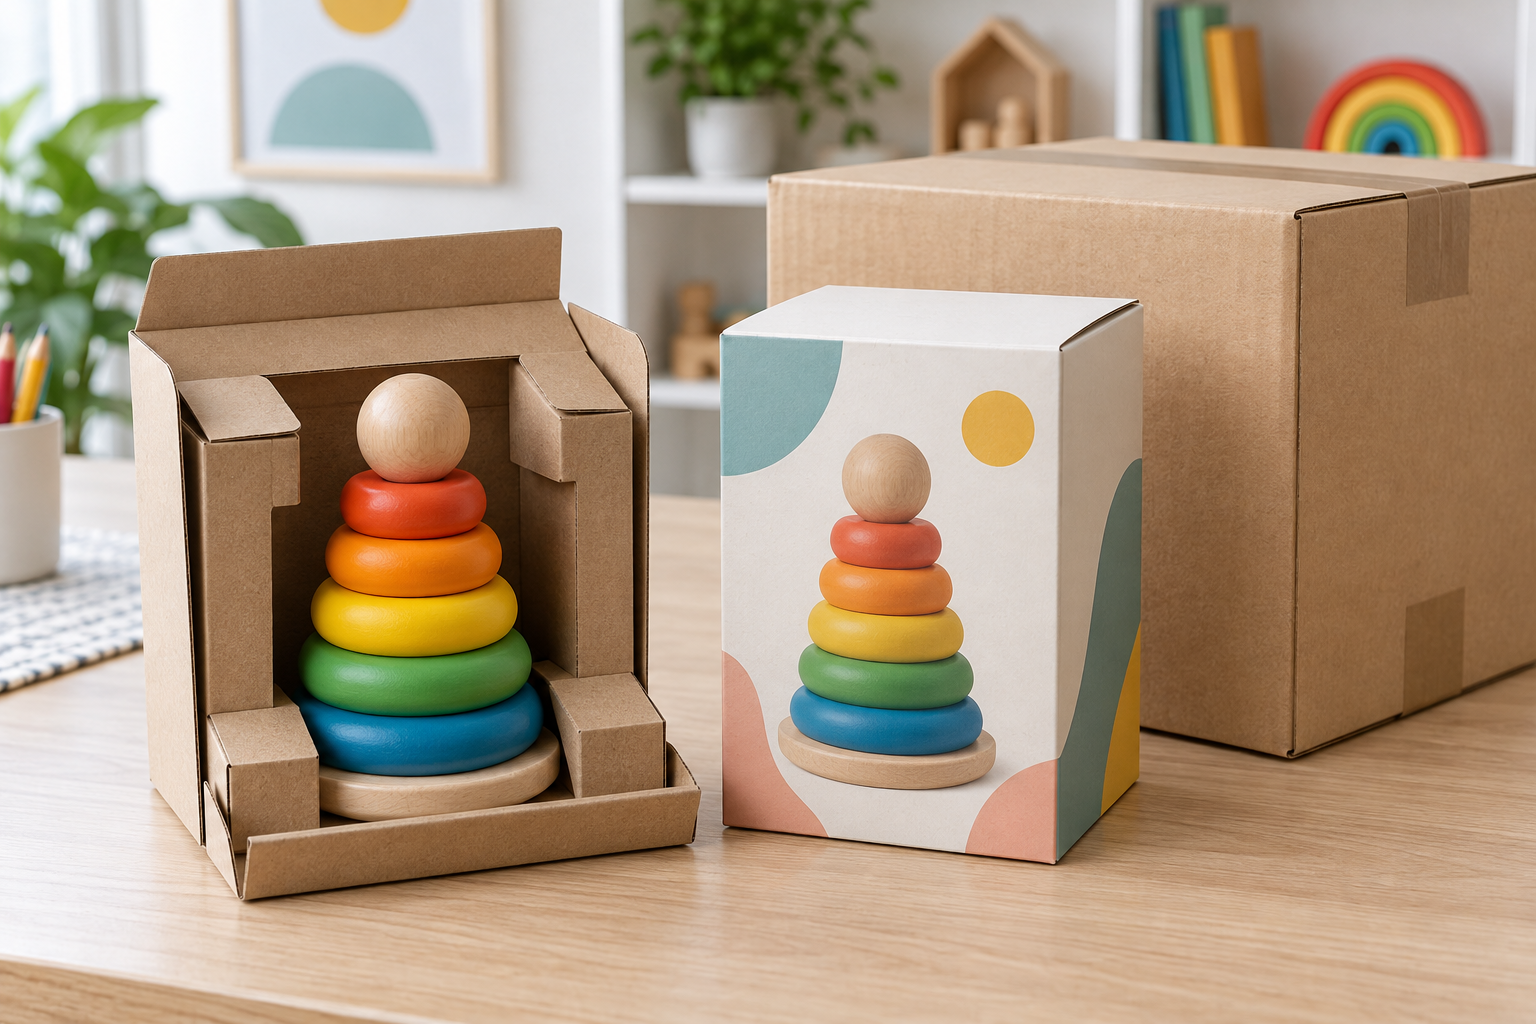
Good toy packaging does not start with choosing a pretty box. Start with the toy itself. Look at what can break, what can move, where the product will be sold, and how it will travel.
Then track five things: packed size, packaging weight, packaging cost, packing time, and damage rate. A box that costs less is not really cheaper if workers need longer to pack it or more products arrive damaged.
Start With the Toy
Before choosing a carton, tray, blister, or window box, record the basics: product size, weight, loose parts, fragile areas, painted surfaces, electronic parts, liquids or powders, moving pieces, intended age, and target market.
Do not leave packaging details in scattered emails. Put them into the approved product specification. A toy product specification sheet can cover the retail carton, packaging BOM, insert, manual, labels, packout, master carton, materials, dimensions, artwork revision, and inspection requirements.
| Product Condition | What the Packaging Needs to Do |
|---|---|
| Simple one-piece toy | Stop unnecessary movement and avoid oversized packaging |
| Heavy toy with fragile projections | Support the heavy section and keep weak parts away from impact areas |
| Electronic toy | Protect screens, switches, connectors, and moving components |
| Multi-piece kit | Keep tools, containers, specimens, and small parts separated |
| Collectible or appearance-led toy | Let buyers see enough of the product without giving up needed protection |
Packaging should be settled while samples and QC requirements are still being worked out. Waiting until the product is finished usually creates awkward compromises later. The same applies when working through a full custom educational toy development process.
Control Product Movement
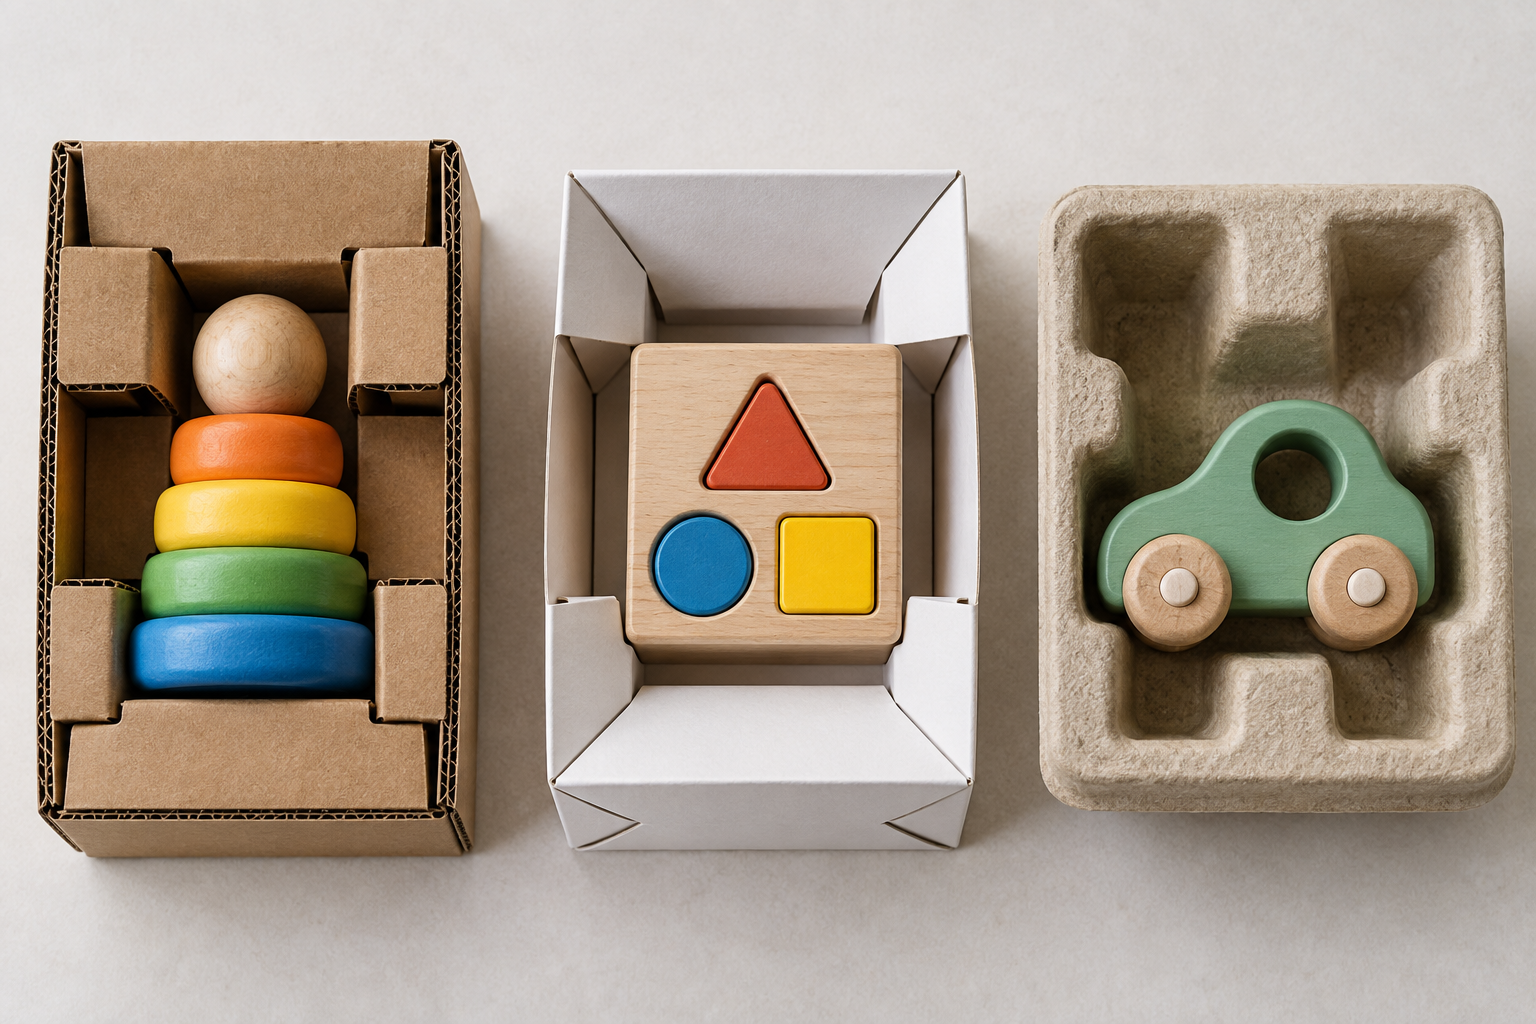
A toy bouncing around inside a box is asking for trouble. More padding does not always fix that. Loose accessories can hit the main product, scratch painted areas, or damage small projections.
Use the simplest structure that keeps everything where it belongs:
- folded paperboard for regular shapes;
- corrugated inserts for heavier products;
- molded pulp when shaped support is needed;
- thermoformed trays when precise positioning or visibility matters;
- tabs, paper ties, sleeves, or compartments for loose parts.
Focus protection where the toy is weak. If a toy truck has a solid body but thin mirrors, protect the mirrors. There is little point in adding the same amount of cushioning around the whole truck.
Need to compare packaging structures before artwork starts?
Send the toy size, weight, loose parts, target market, and sales channel. With those details, you can compare carton, insert, tray, and packout options before the structure is locked.
Match Packaging to the Shipping Route
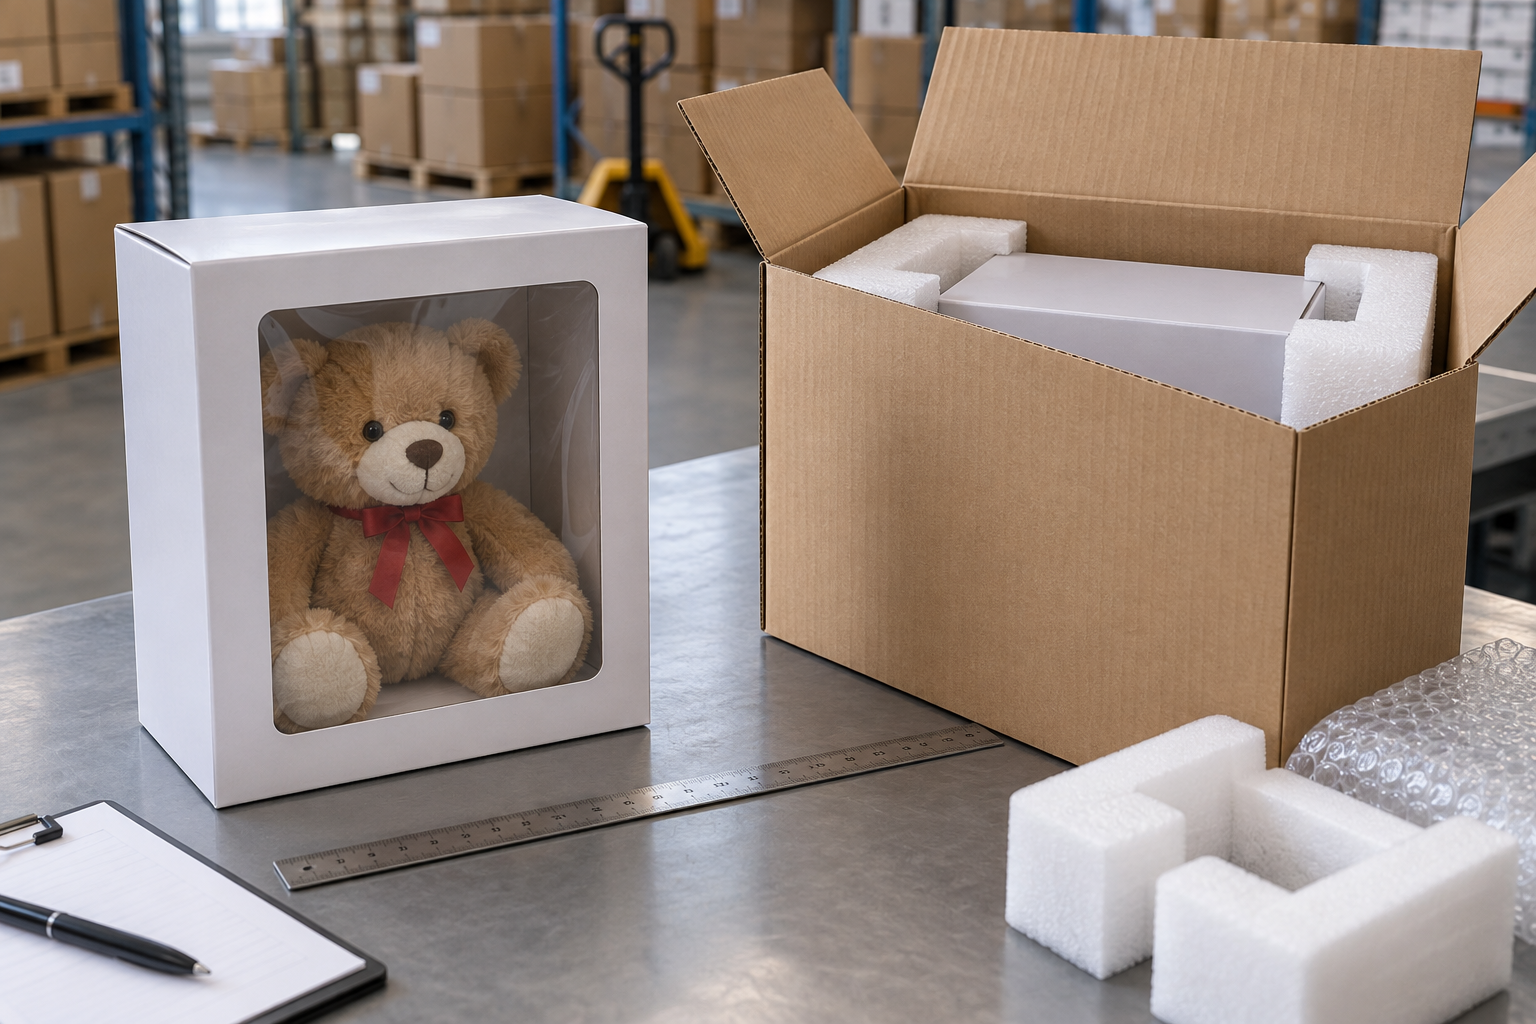
A toy moving on a pallet does not go through the same handling as a single parcel delivered to a customer’s home. The test plan should match the real route.
ISTA describes its 3-Series procedures as general simulation tests for the types of motion, force, and transport conditions that can damage packaged products. Depending on the distribution route, testing can include vibration, drops, atmospheric conditioning, and other hazards.[1]
ISTA 3A covers individual packaged products weighing 150 lb (70 kg) or less moving through parcel delivery systems by air or ground. Other shipping setups use different ISTA procedures, so 3A should not be treated as the default test for every toy.[2]
Retail vs E-Commerce Packaging
A retail box has to work on the shelf. A shopper should quickly understand what the toy is, who it is for, what the main activity is, and what makes this version different.
Online is different. The customer has usually seen product photos, dimensions, features, and videos before the box arrives. For an online-only product, a huge display window may add cost without telling the customer anything new.
| Retail Priority | E-Commerce Priority |
|---|---|
| Fast product recognition | Compact package size |
| Useful product visibility | Parcel protection |
| Clear front-panel information | Secure internal retention |
| Shelf presentation | Clean arrival condition |
| Visible age and product details | Easy opening and fewer unnecessary parts |
Using separate retail and e-commerce packs can work, but it also means more SKUs, more artwork, more inventory, and more QC. Do it only when the cost or performance difference is big enough to justify the extra work.
Decide Whether You Need a Window
A window makes sense when the buyer really needs to see the product. That may include color, texture, facial details, clothing, finish, scale, or collectible condition.
If good photography already answers those questions, the window may not be doing much.
A film window adds another material and another production step. The cutout also removes part of the carton panel. Keep it only as large as it needs to be.
Right-Size the Package Before Reducing Material
Do not jump straight to thinner board. First remove space that does not help with protection, fit, retention, labeling, or display.
Package size affects:
- paperboard use;
- insert and tray size;
- units per master carton;
- pallet and container use;
- warehouse space;
- parcel dimensional weight.
Check the finished length × width × height. A small change across all three dimensions can matter more than trimming one side.
Keep enough clearance for the real product shape, manufacturing tolerances, retention, and protection. The goal is not to squeeze the toy into the smallest possible box.
For products sold in the EU, empty space is also becoming a compliance issue. Article 24 of Regulation (EU) 2025/40 sets a maximum empty-space ratio of 50% for grouped, transport, and e-commerce packaging by 1 January 2030 or three years after the relevant implementing acts enter into force, whichever is later.[3]
The same Article requires sales packaging to reduce empty space to the minimum needed for packaging functionality, including protection, by 12 February 2028. Paper cuttings, air cushions, bubble wrap, foam, wood wool, and similar fillers count as empty space for this assessment.[4]
For EU-bound products, check the applicable PPWR requirements before approving the final dieline.
Calculate the Whole Packaging Cost
Do not compare two packaging options by carton price alone.
Total packaging cost = retail package + inserts + trays or windows + printed materials + labels + packing labor + master carton + packaging-related logistics cost + expected damage cost.
For a product that is already shipping:
Expected damage cost = shipped units × packaging-related damage rate × average cost per affected unit.
That affected-unit cost may include replacement stock, refunds or credits, reshipping, rework, handling, disposal, and customer-service time.
Use your own supplier quotes and shipment records. Generic packaging averages are not very useful here. Board grade, size, print coverage, tooling, finishing, volume, labor, and supplier location can all move the number.
Measure Packing and Opening
A cheap package can become expensive if it takes too long to pack.
Run a few complete packout cycles with production-style samples and record:
- number of separate packaging pieces;
- total packing time;
- ties, tape, labels, and fasteners;
- steps that often need adjustment;
- parts that workers commonly install the wrong way.
A flat dieline will not show this. Folding an insert, lining up accessories, securing the toy, adding instructions, and closing the box all take time.
Then hand the package to someone who has not opened it before.
- Do they need scissors?
- Do small parts fall out?
- Can they see the instructions before throwing packaging away?
- Can they remove the toy without scratching or breaking it?
- Are there ties or restraints that serve no real purpose?
If two designs protect the product equally well, the one with fewer pieces and fewer handling steps is usually easier to run in production.
Design the Master Carton With the Retail Box
Do not finish the retail box first and deal with shipping cartons later.
For every retail-pack option, record:
- units per master carton;
- master-carton dimensions;
- gross weight;
- retail-pack orientation;
- unused space inside the shipper;
- pallet pattern where relevant;
- container or warehouse cube where relevant.
A small retail-box change can affect how many units fit in a row or layer. Check that before approving the dieline.
The packaging specification should cover both the retail pack and master carton so production and QC are checking the same setup.
Choose Packaging Materials by Function
| Structure | Use It When | Main Trade-Off |
|---|---|---|
| Folding carton | A lightweight product needs a printed retail box | May need an insert to stop movement |
| Corrugated insert or box | A heavier product needs stronger support | Usually takes more space than thin paperboard |
| Folded paperboard insert | Tabs and folds can hold the toy in place | Complex shapes need more careful structural work |
| Molded pulp | The product needs shaped support but not transparency | The supported area cannot be seen |
| Thermoformed tray | Precise positioning or visibility is needed | Adds plastic, tooling, and another component |
| Window carton | The shopper needs to inspect part of the real toy | A film window adds material and the opening reduces board area |
Do not replace plastic with paper just because paper sounds better. The new structure still has to hold the product, protect it, pack consistently, and look right.
Paperboard and molded pulp can replace some plastic trays. Plastic still makes sense when clear display, complex shapes, or precise positioning are part of the job.
This is easy to see with a science kit. A kit may contain tools, containers, specimens, experiment materials, and printed instructions. Those parts need to stay in place separately, not just fit inside one big outer box.
Make the Front Panel Answer Buying Questions
Use the front panel for facts that help someone decide whether the toy is right for them:
- product name;
- intended age;
- piece or component count;
- finished dimensions when size matters;
- main play activity;
- the most important included feature.
Plain facts usually work better than vague copy. “Includes 18 accessories” tells the buyer something. “Lots of accessories” does not.
Use numbers only when they match the approved product specification.
Long instructions, detailed contents, alternative activities, and secondary educational information can move to the side or back panels.
Reserve Compliance Space Before Artwork
Do not use every good spot on the box for graphics and then try to squeeze warnings into whatever is left.
Reserve space for age information, warnings, product identification, traceability details, and destination-market labels before artwork is final.
In the United States, covered toys and other children’s products intended for children under three are subject to the small-parts requirements in 16 CFR Part 1501, subject to the regulation’s scope and exclusions. A small part is an object that fits completely, without compression and in any orientation, inside the specified small-parts cylinder.[5]
The CPSC also explains that a small part can be a complete item, a separate component, or a piece that breaks away during use-and-abuse testing. Some materials and product categories are excluded, so this is not a generic size rule for every toy component.[6]
Certain products containing small parts, balloons, small balls, or marbles may also require choking-hazard labeling. A warning does not replace a product requirement that applies to the intended age group.[7]
Confirm intended age, product category, destination market, test requirements, and warning requirements before approving artwork.
Multi-part products need more room for information. A dinosaur excavation kit, for example, may need space for the dig block, tools, figures, guide content, warnings, labels, and other market-specific details.
Already have a dieline or packaging sample?
Send the dieline with the target market, intended age, product contents, and packout. It is much easier to catch missing information or simplify the structure before printing starts.
Keep Environmental Claims Specific
Changing one piece of plastic to paper does not automatically make a package “green,” “eco-friendly,” or “sustainable.”
The U.S. Federal Trade Commission’s Green Guides advise against broad, unqualified environmental benefit claims. Claims should say what the actual benefit is and be supported by evidence.[8]
For recyclable claims, the FTC says qualification is needed when appropriate recycling facilities are not available to at least 60% of consumers or communities where the product is sold.[9]
Keep records behind the claim:
- old and new packaging weight;
- verified recycled-content percentage;
- packaging parts removed;
- old and new external package volume;
- plastic weight removed from the previous design.
If you say the new package uses less material than the previous one, keep both specifications and the calculation used to support that claim.
Test Every Cost-Down Change
When packaging costs are too high, do not start by making everything thinner.
- Remove parts that do not protect, display, inform, or help packing.
- Cut unused internal space.
- Simplify the insert and packout.
- Improve the retail box and master carton together.
- Remove print or finishing that does not affect the buying decision.
- Only then test lower material weight, thickness, or grade.
ISTA recommends considering retesting when changes to the product, package, materials, components, manufacturing or filling process, or distribution system could affect packaged-product performance.[10]
Do not approve thinner board, a new insert shape, smaller clearances, or another tray just because the quote looks better. Pack the real product and test it against the same acceptance criteria used for the approved design.
Use Real Shipment Failures
Once the toy is shipping, stop guessing. Use real failure data.
Separate packaging complaints into useful categories:
- crushed retail carton;
- product movement;
- loose accessory;
- surface scratching;
- broken projecting part;
- insert or tray failure;
- window separation;
- water or contamination damage where relevant.
Calculate each rate from actual shipped units.
A crushed box with an undamaged toy is not the same problem as a mirror snapping off inside an otherwise clean carton. The first may point to outer-package or shipping protection. The second points to retention around that weak part.
Compare Designs With Measured Fields
| Field | What to Record |
|---|---|
| Protection | Test method, acceptance criteria, result, and failure mode |
| Visibility | Which parts need to remain visible and why |
| External dimensions | Finished L × W × H |
| Packaging weight | Complete packaging weight excluding the toy |
| Components | Carton, insert, tray, window, restraints, manual, and labels |
| Packing | Number of steps and measured cycle time |
| Master carton | Units, dimensions, gross weight, and orientation |
| Cost | Complete packaging and packing cost |
| Compliance | Market, intended age, warnings, artwork revision, and required records |
If two designs pass the same protection and compliance requirements, compare their size, number of parts, packing time, shipping setup, and total cost. There is no need to invent a score when these things can be measured directly.
Freeze the Packaging Specification
Once the package is approved, lock the details that production and QC need to follow:
- dieline revision;
- finished dimensions;
- board or material specification;
- insert drawing;
- tray or window material where applicable;
- printing and finishing requirements;
- artwork revision;
- manual and label revision;
- packout sequence;
- master-carton specification;
- approved sample;
- transport-test reference where required.
A later change to board, dimensions, inserts, trays, labels, or packout can affect fit, warnings, barcode position, carton quantity, freight volume, or transport performance. Treat it as a controlled revision, not a casual factory substitution.
K&M’s educational toy OEM and ODM services cover product development, manufacturing, packaging, and quality control. Packaging requirements should go into the product brief early, not arrive a few days before mass production.
Ready to price the production package?
Provide the final toy dimensions, target market, intended age, order quantity, retail format, and approved packaging reference. Ask for the carton, insert, printing, packout, master carton, tooling, and setup costs to be shown separately.
FAQ
How can toy packaging cost be reduced without increasing damage?
Remove unused space, unnecessary parts, extra packing steps, and inefficient master-carton dimensions first. Test anything that changes product retention or package strength.
What is the best packaging material for toys?
There is no single best material. Choose the structure according to product weight, fragility, shape, visibility, packing process, and shipping route.
Should toy packaging have a window?
Use one when seeing the real product helps the buyer decide. If good photography already does that job, a large window may not be worth the extra material and processing.
How much empty space should toy packaging have?
Keep only the space needed for product shape, retention, manufacturing tolerances, and protection. EU grouped, transport, and e-commerce packaging is also subject to the PPWR requirements described above.
Can paper replace a plastic tray?
Yes, if paperboard or molded pulp can give the same required fit and protection. Keep plastic where clear display or complex positioning is actually needed.
What should a toy packaging quotation include?
Ask suppliers to separate the carton, insert, tray or window, printing, finishing, manuals, labels, restraints, packing labor, master carton, tooling, and setup charges where applicable.
Final Answer
Keep a packaging part only if it protects the toy, holds something in place, carries required information, helps the customer understand the product, or makes packing and shipping easier. If it does none of those jobs, take it out.
If two packaging designs protect the product equally well and meet the same compliance and shipping requirements, choose the simpler one that costs less to make, pack, and move.